Dream Bars No. 1

Dream Bars No. 1 are a rich and thick bar cookie, similar in flavor to Dream Bars No. 2 which are a rich and thin bar cookie. The biggest difference in these cookie recipes is the baking pan size. Dream Bars No. 2 call for a jelly roll pan, while Dream Bars No. 1 call for a 9 inch square pan. After making both recipes, I think something in between would be the best!
The 9 inch pan called for in Dream Bars No. 1 results in a very thick and tall bar cookie! All filled with sweet goodness, but the cookie is a bit hard to eat it’s so tall! Regardless, Dream Bars No. 1 are a decadent sweet filled cookie that everyone will love!
I’m rating Dream Bars No. 1 2-stars for cookie difficulty only because of the multiple steps in the preparation process. Making the crust and baking, making the topping, spreading and baking again isn’t hard, but you certainly have to read the recipe while to go to make sure you are getting everything done in the right order.
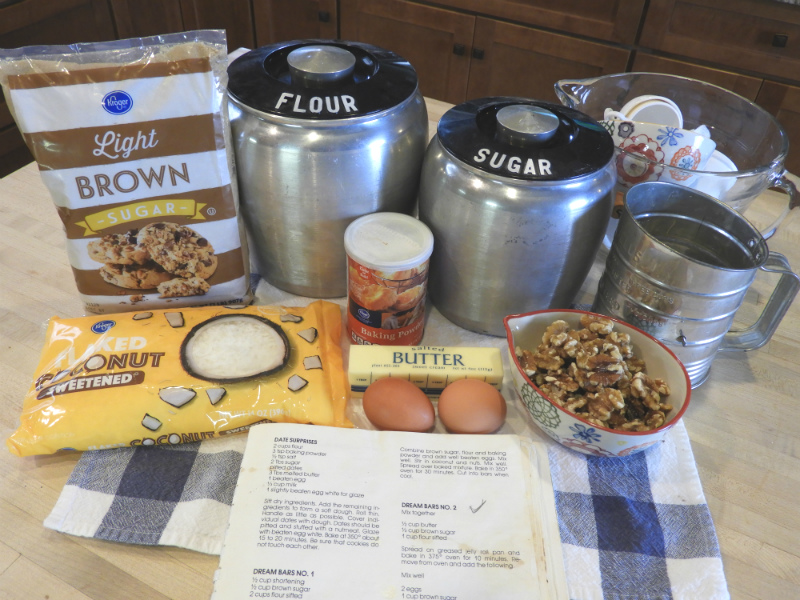
As I gathered my ingredients together, I realized the crust only has three ingredients and no liquid. It was going to be interesting to see how the crust turns out! I do have to mention, once again, I used butter instead of shortening…
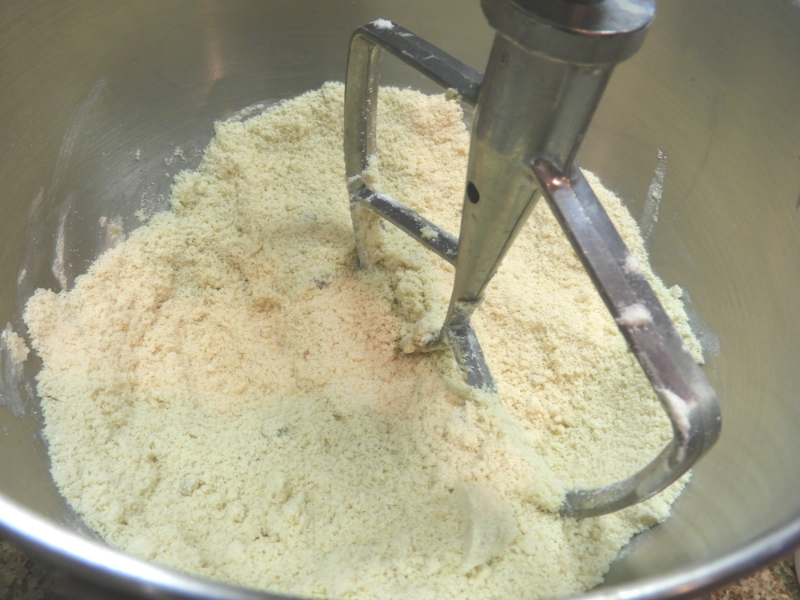
As you can see by this picture, the crust dough didn’t come together. Maybe if I had used shortening it would have done a better job?
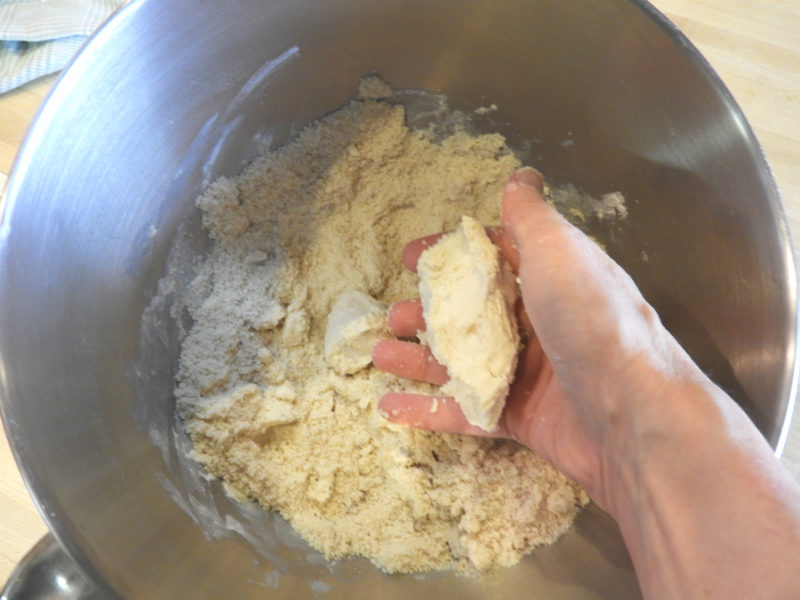
I decided to use my hands to try to bring the dough together. After looking back at my Dream Bars No. 2 blog post, I realized I had done the same thing!
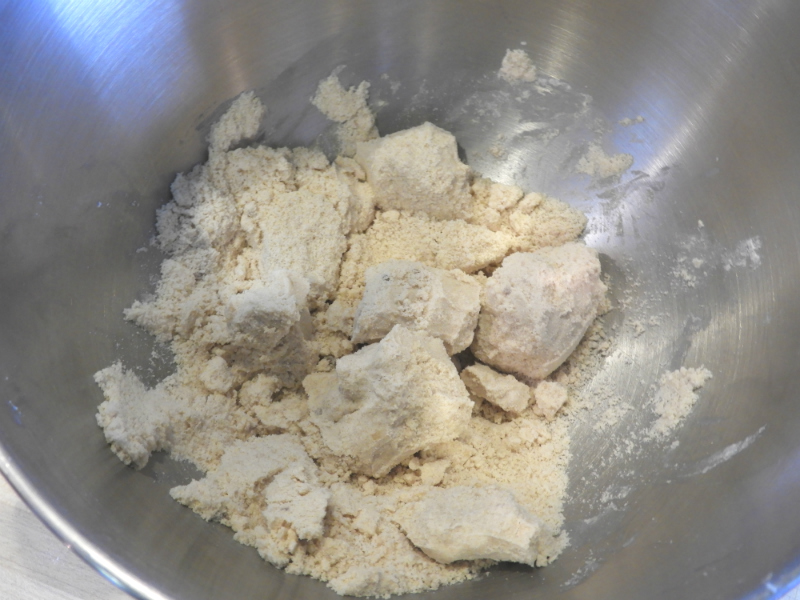
Doing this make it much easier to press the dough into the baking pan.
I don’t actually have a 9 inch square baking pan. I do however have a 7×11 inch rectangular baking pan which has been a good substitute.
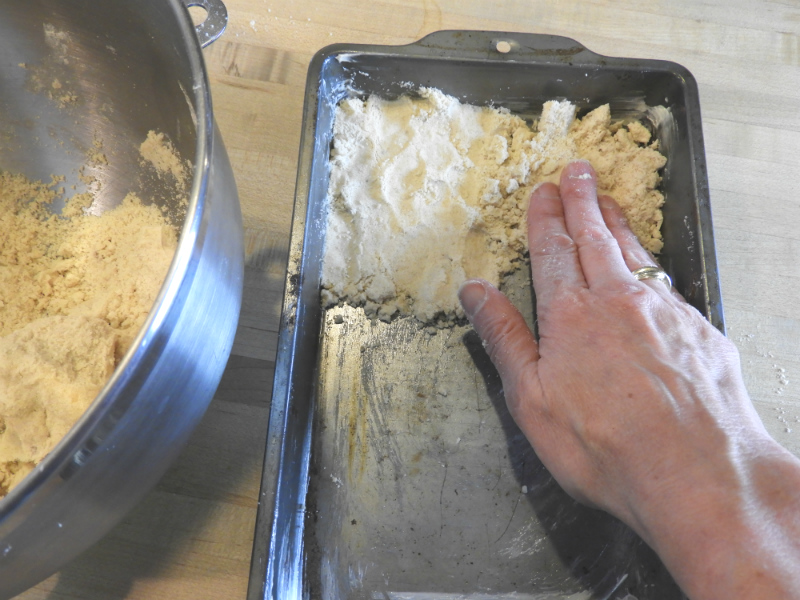
Once I greased my pan, I began o press in the crust. Even though the dough was still crumbly, it was relatively easy to press it into the pan.
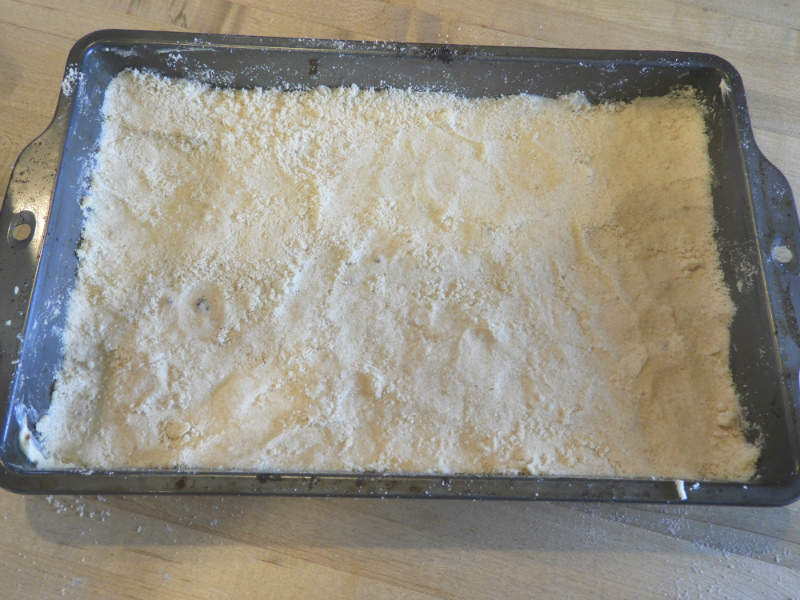
I do have to admit, I was a bit surprised at how thick the crust was. This is where I started wondering about the size of the pan called for in the recipe. Seemed to me a larger pan would have worked better…but to stay true to Grandma Bess, I followed the recipe as written.
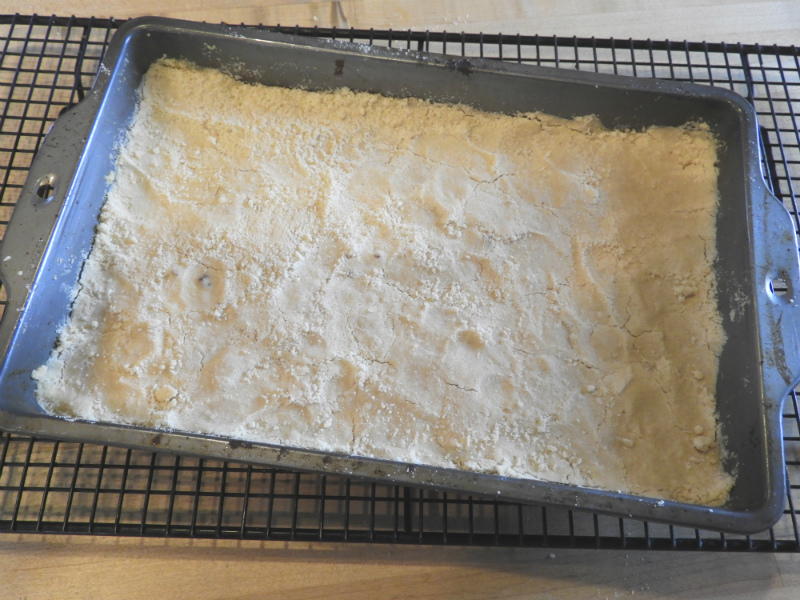
The recipe says to only bake the crust for 10 minutes. After the 10 minutes, the crust looked basically the same as before it baked.
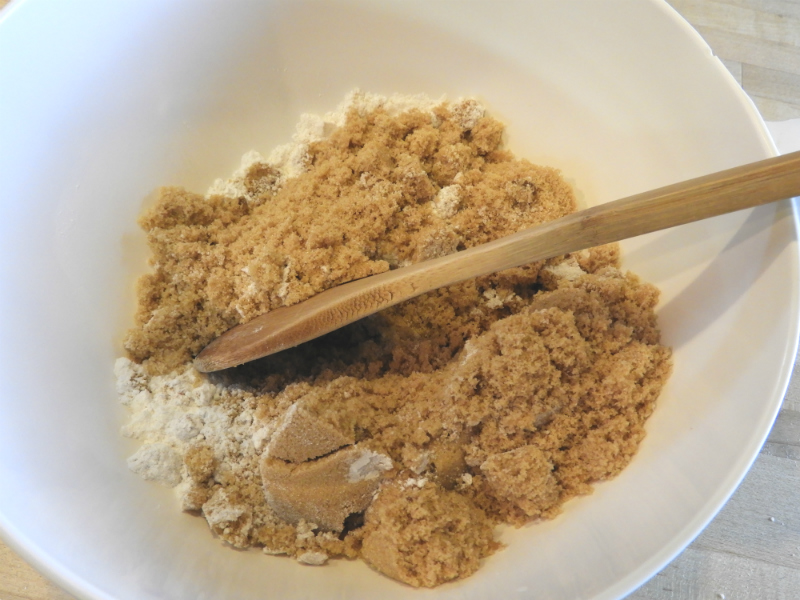
While the crust was baking, I put the topping together. Starting with the brown sugar and 1 tablespoon of flour.
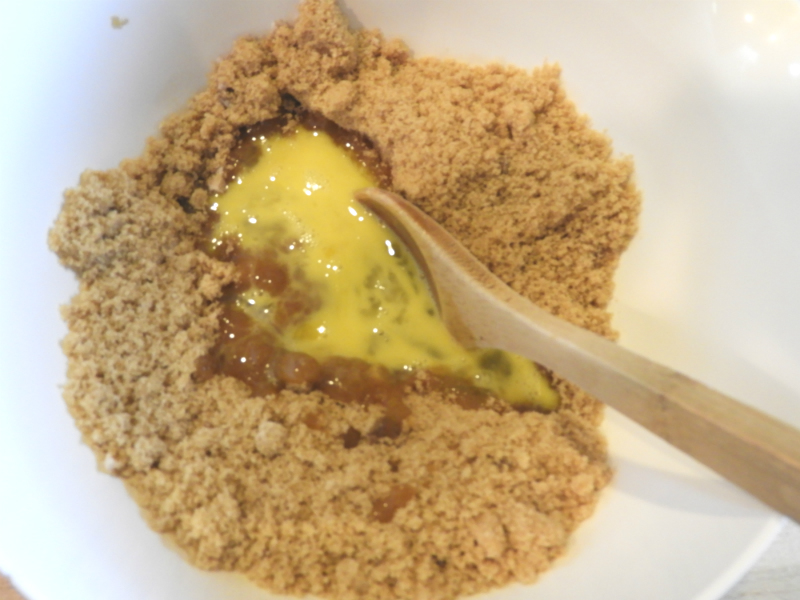
Next, I added the well beaten eggs and mixed well.
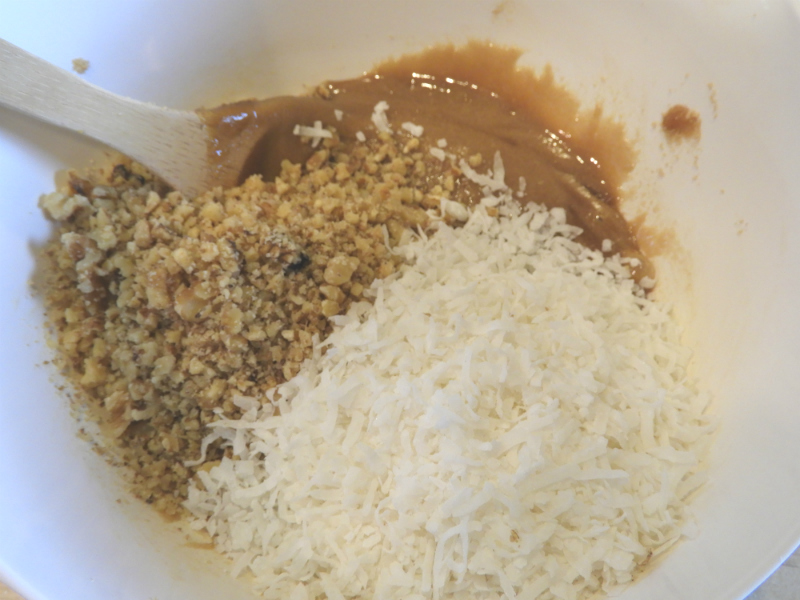
Finally, I added the chopped nuts and coconut. I decided to use walnuts for no reason at all other than I thought of walnuts first ?
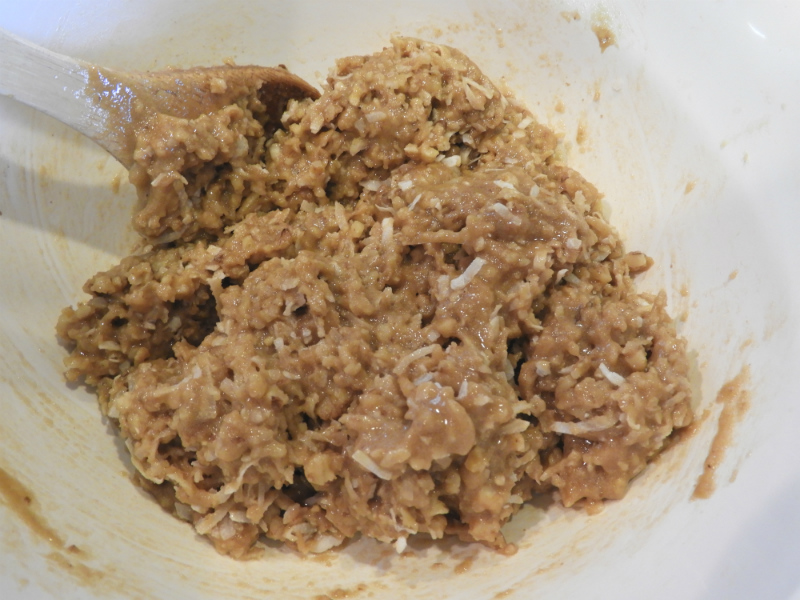
The topping looks so sweet and luscious!
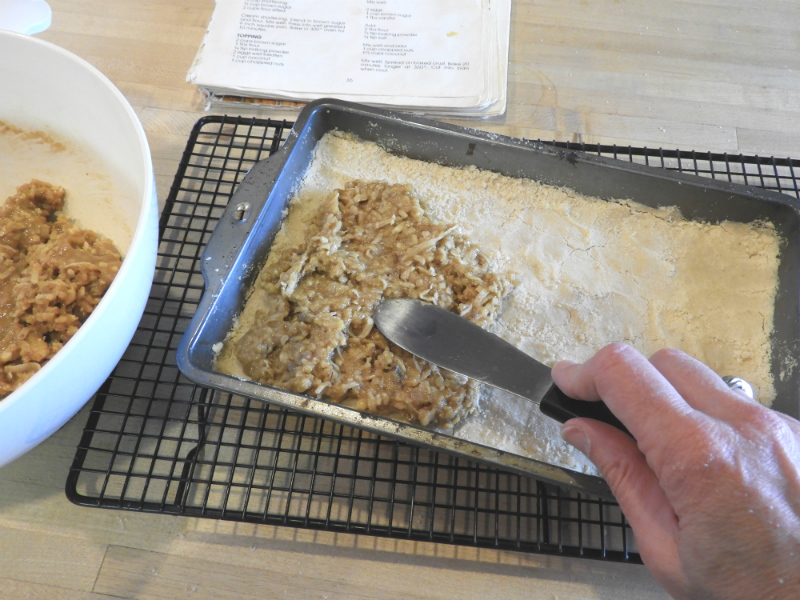
While the crust was still warm, I began spreading the topping.
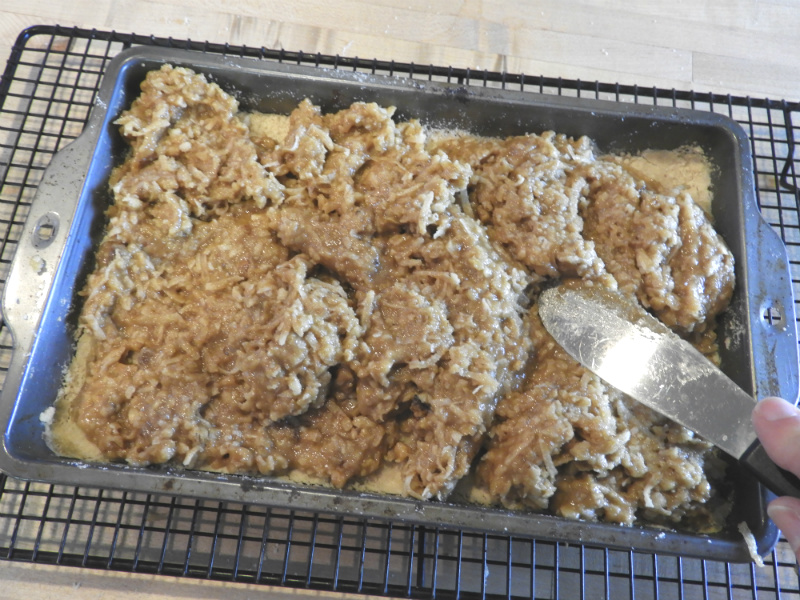
Once again, I thought the topping was pretty darn thick on the already thick crust. It was very evident to me at this point, these were going to be big cookies!
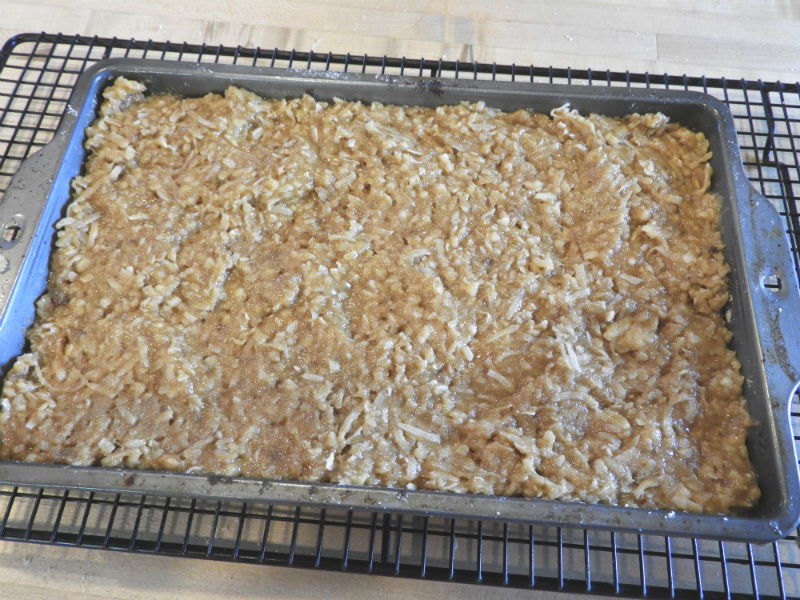
The Dream Bars No. 1 are ready to bake!
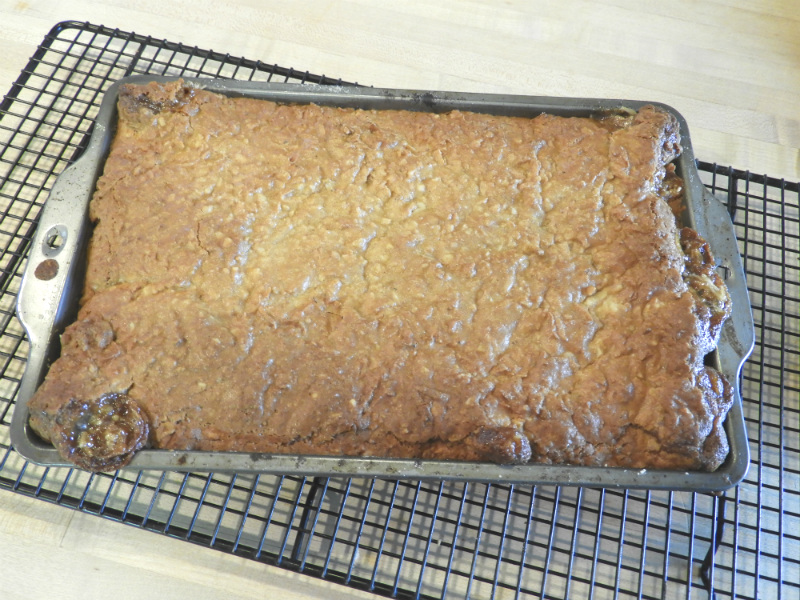
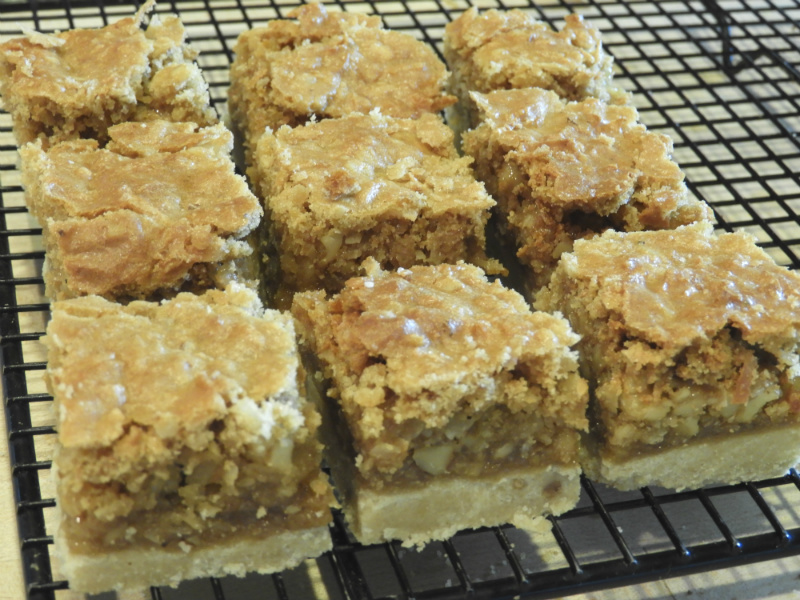
I baked the bars for the full 30 minutes. As you can see, the topping bubbled up a bit around the sides and a nice crispy layer formed on top. I wasn’t sure what was going on underneath that crispy layer…I decided to let them cool completely before cutting into them to find out.
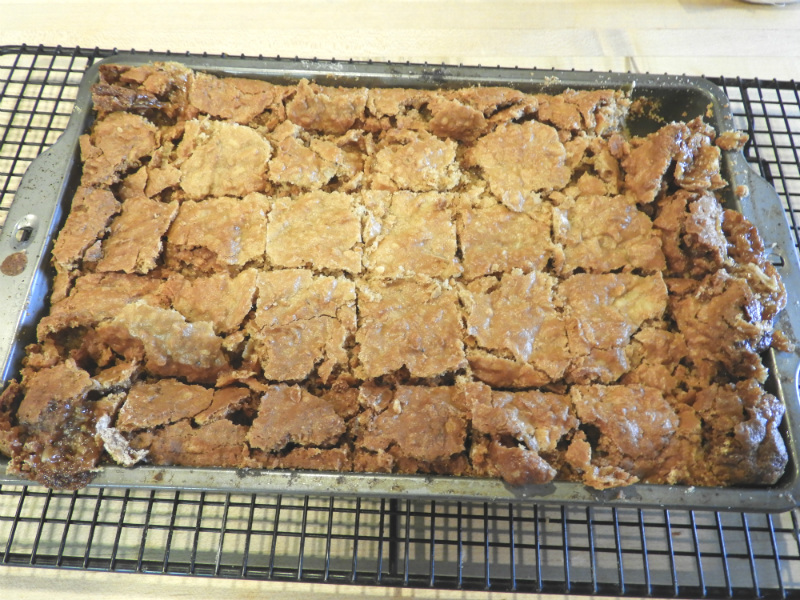
Cutting the bars was a bit difficult due to that crispy layer and the thickness of the cookies.

The middle cookies came out the best. Just look at all that texture and can’t you just taste all those sweet flavors! I was amazed at how perfect the crust came out since it had been so crumbly before baking. And, the topping set up nicely underneath the crispy top layer!
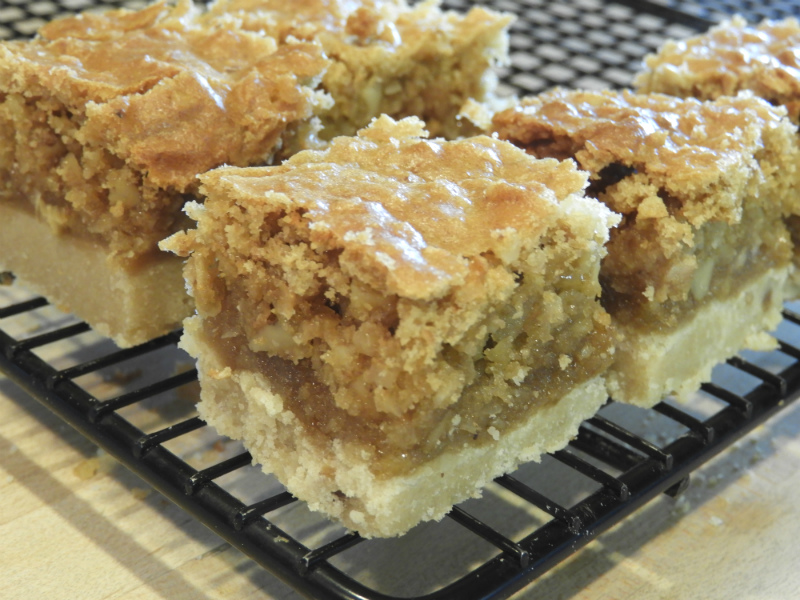
I just love the thickness of the crust and all that topping, but I do have to admit these cookies were a bit difficult to eat! Oh, don’t get me wrong, I certainly found a way!
Dream Bars No. 1 are similar to Dream Bars No. 2 in ingredients and flavors, but very different in the end result cookies.
Dream Bars No. 1 are perfect for any occasion, just make sure you and your family and friends are ready for a great BIG bite!
Enjoy!
XXOO,
Janet
Dream Bars No. 1
Ingredients
Crust
½ cup shortening
½ cup brown sugar
2 cups sifted flour
Topping
2 cups brown sugar
1 Tbs flour
¼ tsp baking powder
2 eggs well beaten
1 cup coconut
1 cup chopped nuts
Instructions
Crust
Cream shortening, blend in brown sugar and flour. Mix well. Press into well-greased 9 inch square pan. Bake in 300 degree oven for 10 minutes.
Topping
Combine brown sugar, flour and baking powder and add well beaten eggs. Mix well. Stir in coconut and nuts. Mix well. Spread over baked mixture. Bake in 350 degree oven for 30 minutes. Cut into bars when cool.
Recipe Yield
Makes about 3 - 4 dozen 1x
Cookie Category: Bars
Cookie Difficulty Rating

These look delicious!
★★★★★