Dream Bars No. 2

I’ve been eyeing this Dream Bars No. 2 recipe for a while now. I love the name, Dream Bars No. 2…and I’m on a bar making kick these days, so it seemed the perfect cookie to bake today! I did have to decide between Dream Bars No. 1 and Dream Bars No. 2…both recipes are very similar, I just flipped a coin ?
If you’ve know me for a while, you know that Tom Thumb Bars are one of my favorite Cookies by Bess recipes and one I make every year for the holidays. Not because it’s a holiday cookie (it really isn’t), but because it’s such a darn good cookie! The Dream Bar No. 2 and No. 1 recipes are very similar to Tom Thumb bars…another great reason to make them today!
I followed the recipe as written and didn’t need to make any adjustments. The recipe calls for nuts, but doesn’t specify which type of nut. Knowing these are similar to Tom Thumb Bars, which I already have in the freezer, I decided to mix it up a little by using pecans instead of walnuts. Neither of the Dream Bar recipes or the Tom Thumb recipe specify the type of nuts to use. I’ve always used walnuts with the Tom Thumb, but again decided to switch it out today.
I am rating Dream Bars No. 2 as 2-stars for cookie difficulty. It’s a bar cookie, so not difficult, but the different steps, pressing the crust into the jelly roll pan, and spreading the topping over the hot curst is enough to make it just a bit more difficult.
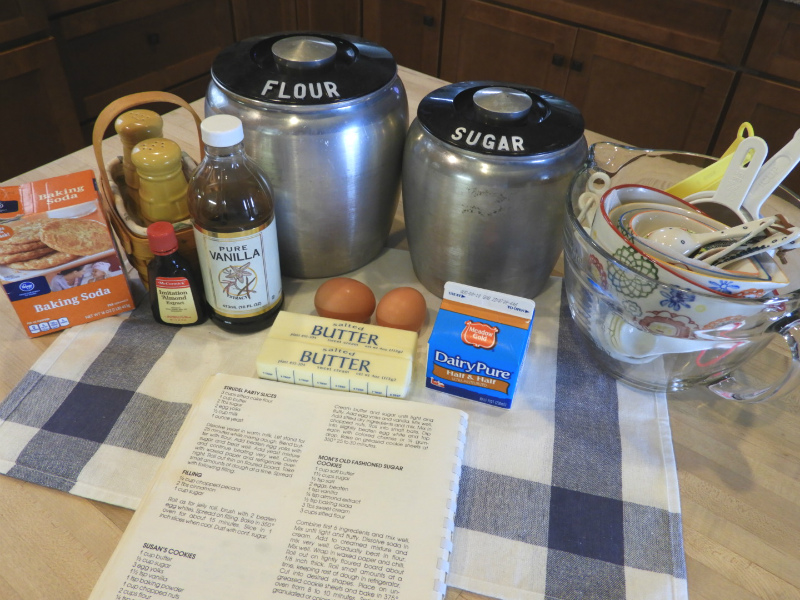
I got all my ingredients together and got started on the first step of mixing the butter, brown sugar, and sifted flour together.
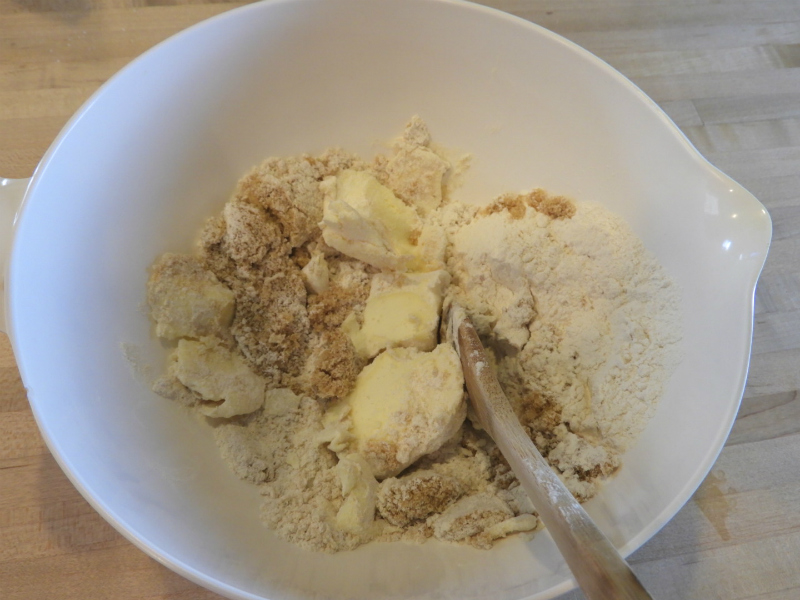
The recipe says to mix together the ingredients. I take this as different from blending them together, so I got out my wooden spoon and began hand mixing the butter, brown sugar, and flour together. I realized right away that my arm is totally out of practice and shape for mixing cookie dough together. It didn’t take long for my arm to get tired!
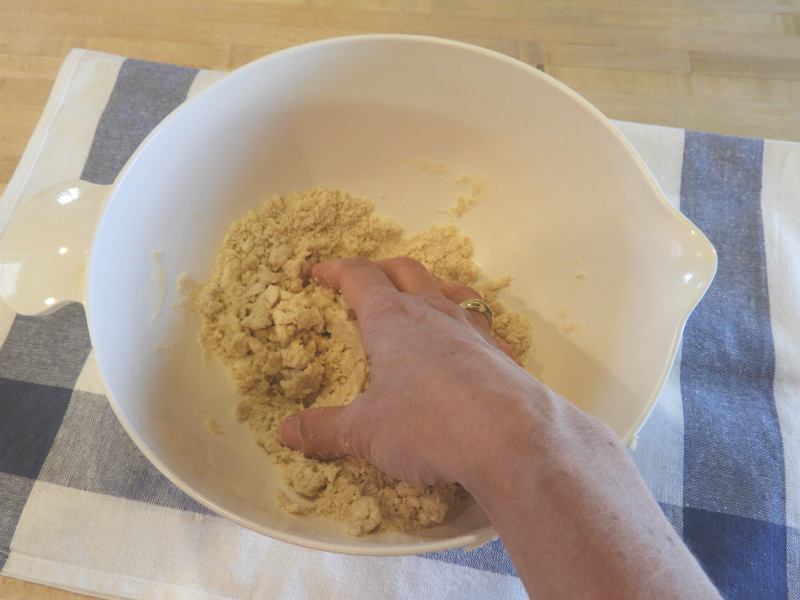
I did the best I could to mix everything together with my spoon, then I decided to use my hands to help it all come together.
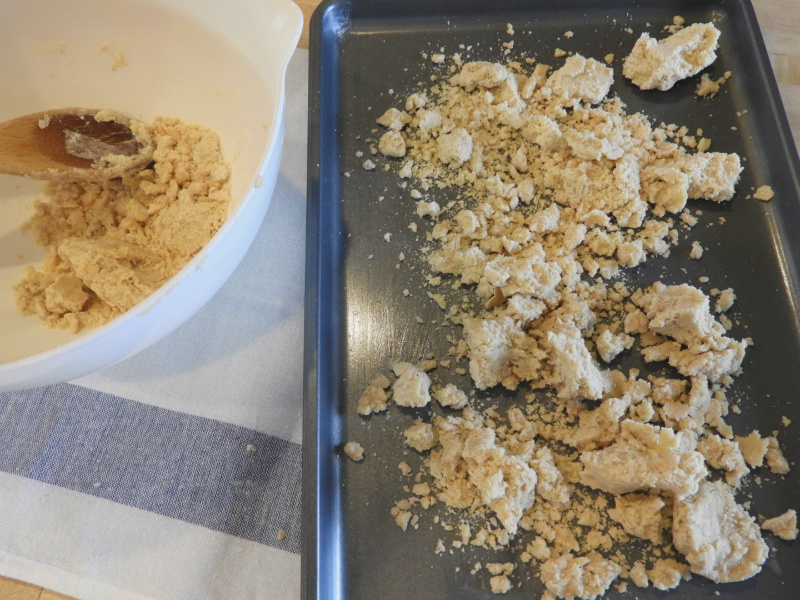
Next I was ready to spread the crust on the jelly roll pan. I emptied the all the cookie dough onto the pan. It was pretty crumbly and it didn’t seem like there was going to be enough to cover the entire jelly roll pan.
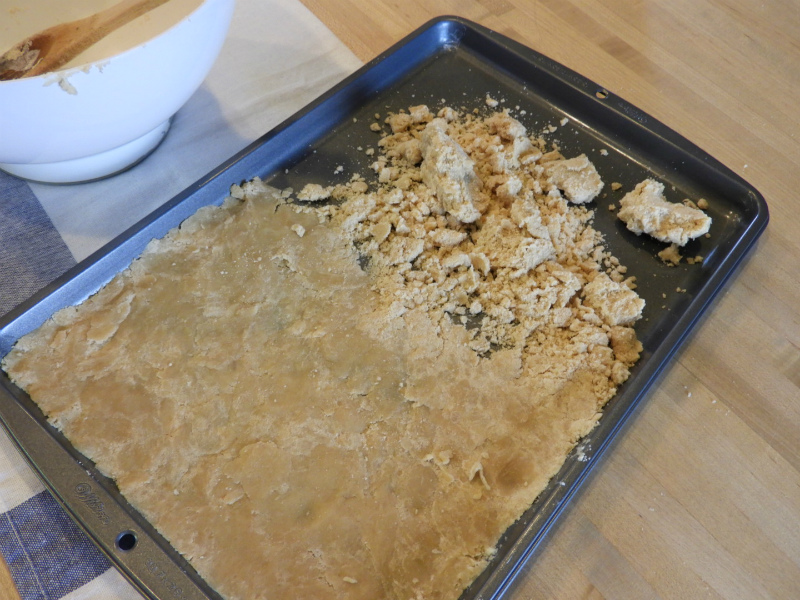
I used the palm of my had to mash the dough together and spread evenly in the jelly roll pan.
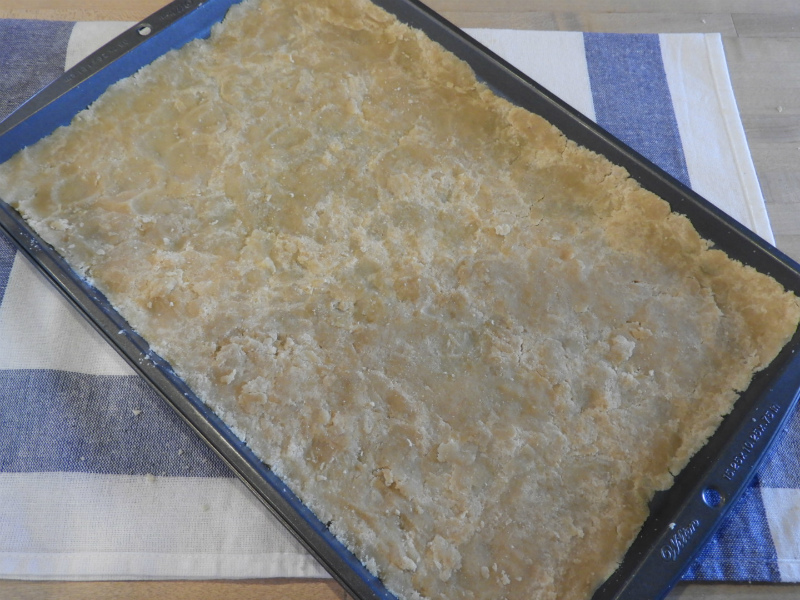
There was just enough dough to spread a very thin crust in the jelly roll pan. I tried to get it as even as possible. There wasn’t any extra dough for a raised edge, I needed every bit for the bottom crust!
Into the oven the crust went to baked for 10 minutes.

Seems, I didn’t do the best job of watching the crust bake. I figured it was only 10 minutes, so did a few dishes and started mixing together the ingredients for the toppings. I should have paid more attention, because it came out pretty brown. You can tell the spots where the dough was thinner because the crust was pretty crispy in those areas. Oh well, nothing to do about it now.

I was ready with the topping, so started spreading it over the crust, once again trying to ensure it was spread evenly. The crust was still hot, so it melted the topping a bit which helped with the spreading. Because the crust what firm and done, it wasn’t disturbed by spreading the topping but I still needed to take my time and be careful.
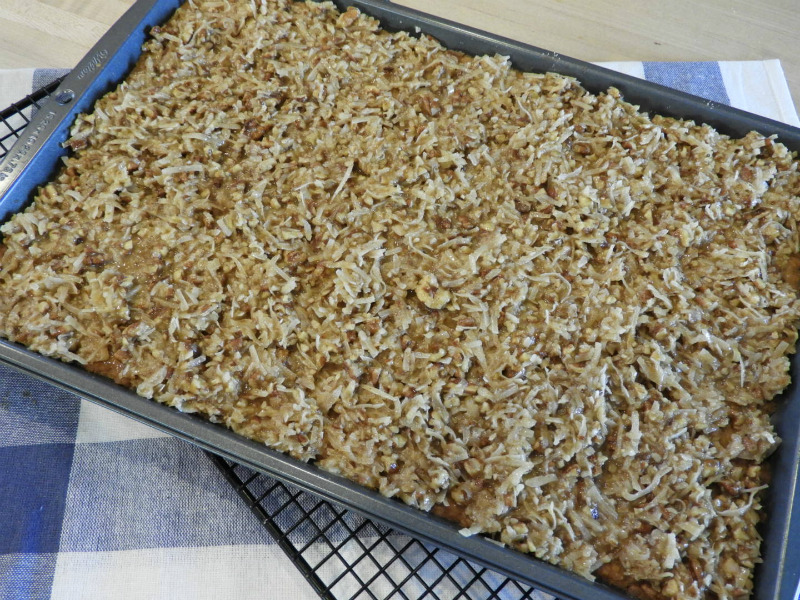
And then I was ready to bake!
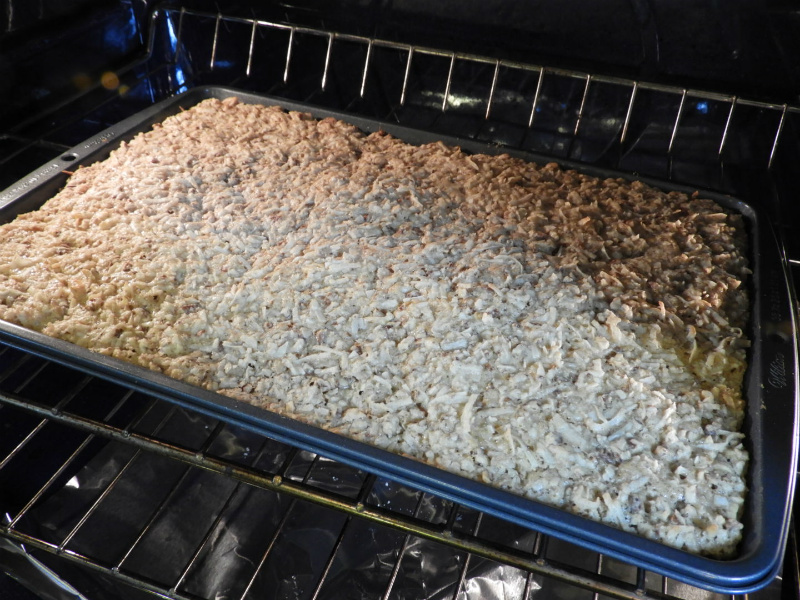
The bars raised slightly while baking, but there was no risk of spilling over. Everything stayed nice and neat in the jelly roll pan.
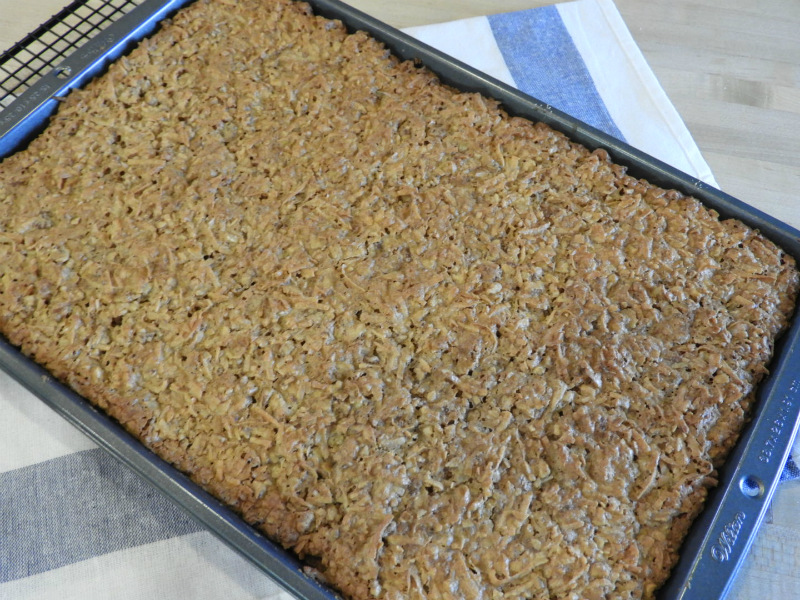
I baked the cookies for the full 20 minutes per the recipe. Once again, I should have paid a bit more attention because I think I over baked them, at least for my taste. My husband will love them because they are crispy and crunchy. Knowing the crust was a bit over done from the earlier step, I probably should have check the pan at 15 minutes, but not to worry! These cookies still look and taste great!
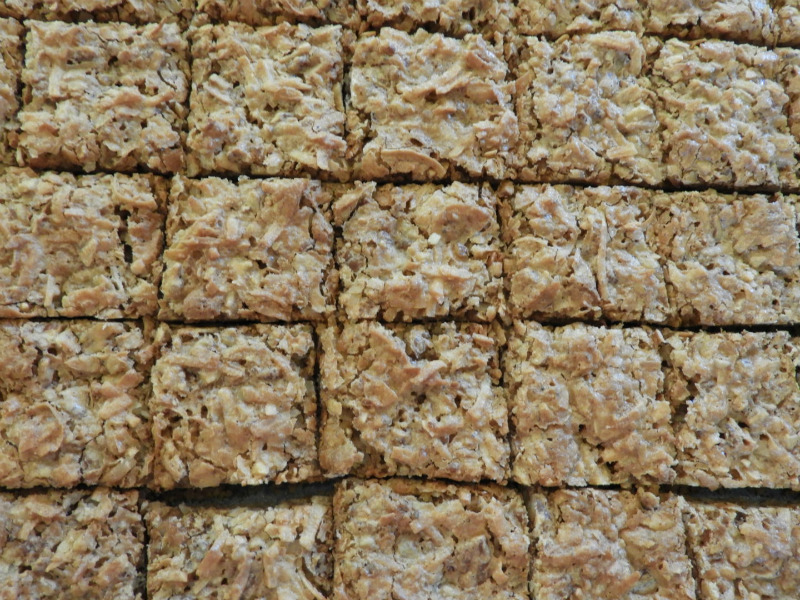
If you love coconut and brown sugar, you are going to love these cookies! The brown sugar gives them a gooey sweet texture and the coconut adds a chewy sweetness that you just can’t resist! Not surprisingly, I did taste the distinctive flavor of the pecans! It was subtle, but you can definitely taste that rich pecan flavor! They definitely add to the chewy texture and awesome flavors.
I don’t think you can go wrong with any cookie that has “Dream” in it’s title! These Dream Bars No. 2 are a great cookie that will raise eyebrows with your family and friends! Next, I’ll have to make Dream Bars No. 1 and do a taste best! 🙂
Enjoy!
XXOO,
Janet
Dream Bars No. 2
Instructions
Mix together:
½ cup butter
½ cup brown sugar
1 cup sifted flour
Spread on greased jelly roll pan and bake in 375 degree oven for 10 minutes. Remove from oven and add the following:
Mix well:
2 eggs
1 cup brown sugar
1 Tbs vanilla
Then add:
2 Tbs flour
½ tsp baking powder
¼ salt
Mix well, then add:
1 cup chopped nuts
1 ½ cups coconut
Mix well. Spread on baked crust. Bake 20 minutes longer at 350 degrees. Cut into bars when cool.
Recipe Yield
Makes about 6 - 7 dozen
Cookie Category: Bars
Cookie Difficulty Rating