Springerle

This will be my first time making Springerle cookies…honestly, I hadn’t heard of them before reading the recipe in my Cookies by Bess cookie book. The history and amazing traditions around Springerle cookies is just fascinating! Thank you Grandma Bess for including Springerle cookies in Cookies by Bess! What fun to learn about such an old and traditional holiday cookie!
According to Wikipedia, Springerle cookies originated in 14th century Germany. They are a rolled biscuit type cookie that has an embossed design. The recipes calls for letting the cookies set over night, which allows the impression to maintain it’s detail after baking.
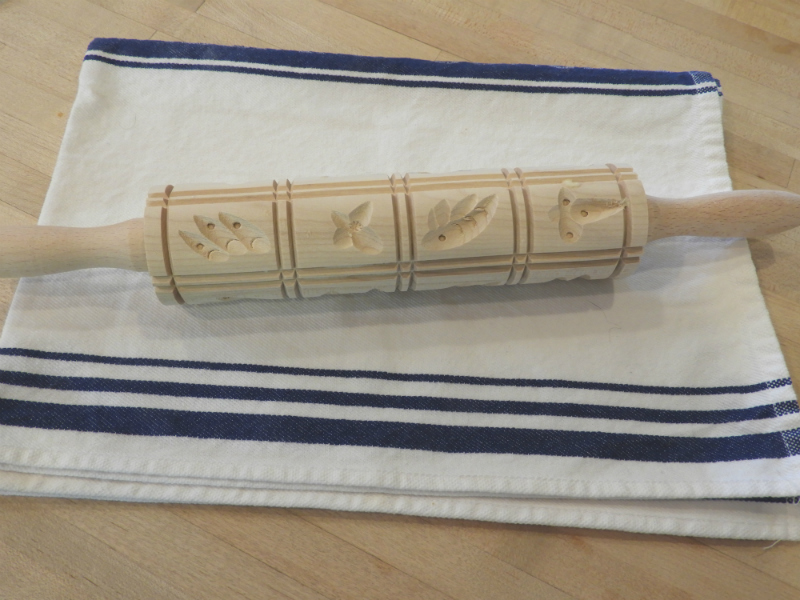
Making Springerle cookies requires using a special Springerle rolling pin. There are many beautiful antique rolling pins with ornate motifs. Since this was my first try at baking Springerle cookies, I decided to purchase a rolling pin with simple designs. As I was searching for Srpingerle rolling pins, it was fun looking at all the different Springerle rolling pins and all the different designs and motifs.
I have to admit that I read several Springerle recipes to ensure letting the cookies dry overnight wasn’t a typo. I’ve never seen this in a cookie or any baking recipe before…certainly a unique baking technique.
One other point I’d like to mention about my experience making Springerle cookies is the way they baked. The top of the cookie baked into a very crunchy biscuit or cracker keeping it’s shape and the motif. The bottom of the cookie actually rose up and was a bit soft.
I had such a wonderful time making Springerle cookies! What a treat to learn about this unique cookie and baking technique!
I’m rating Springerle cookies 3-stars for cookie baking difficulty. Initially, I thought the cookies would be difficult to make. Instead, I was happy to find that the cookies rolled out easily and actually turned out perfect!
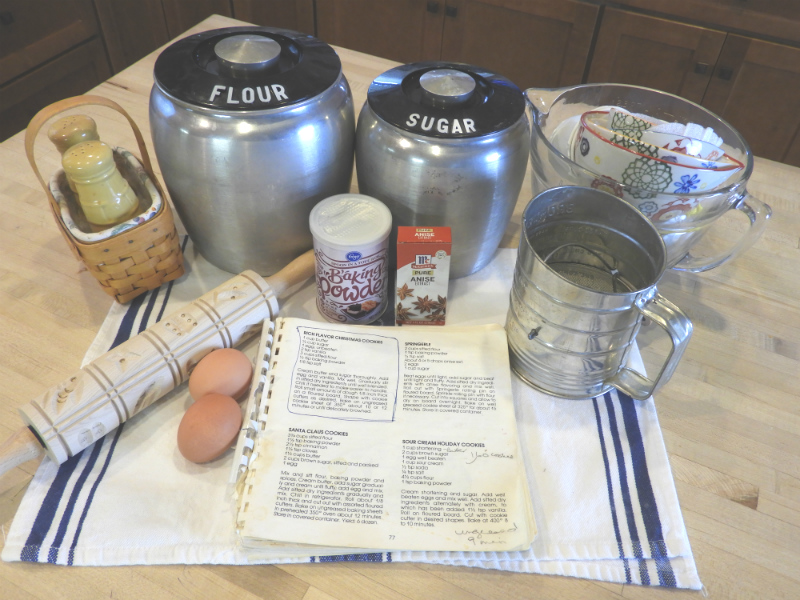
To begin my Springerle adventure, I pulled the ingredients together. Another fascinating surprise with the Springerle recipe was the absence of butter!
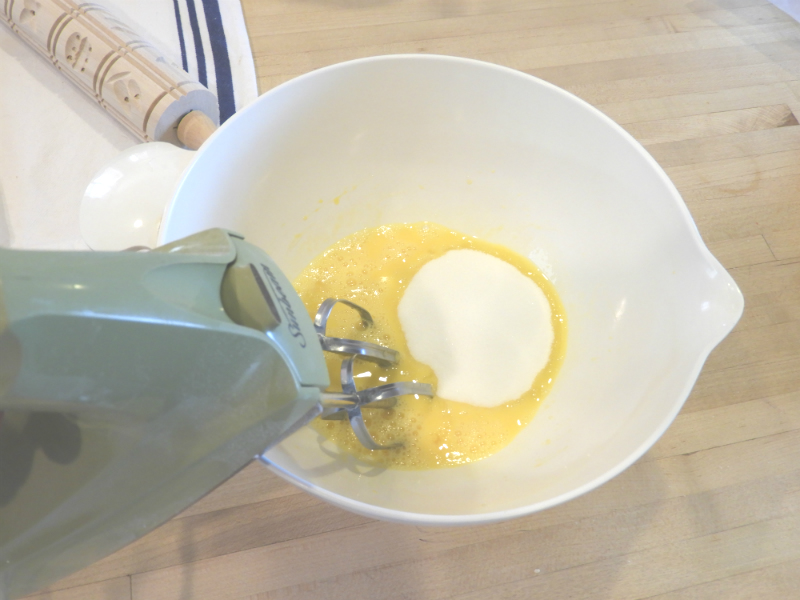
The first step was to beat the eggs. I decided to use a hand mixer rather than my Kitchen Aid as it seems the recipe required a more traditional mixing with beaters rather than the large mixer tool. Then I added the sugar…
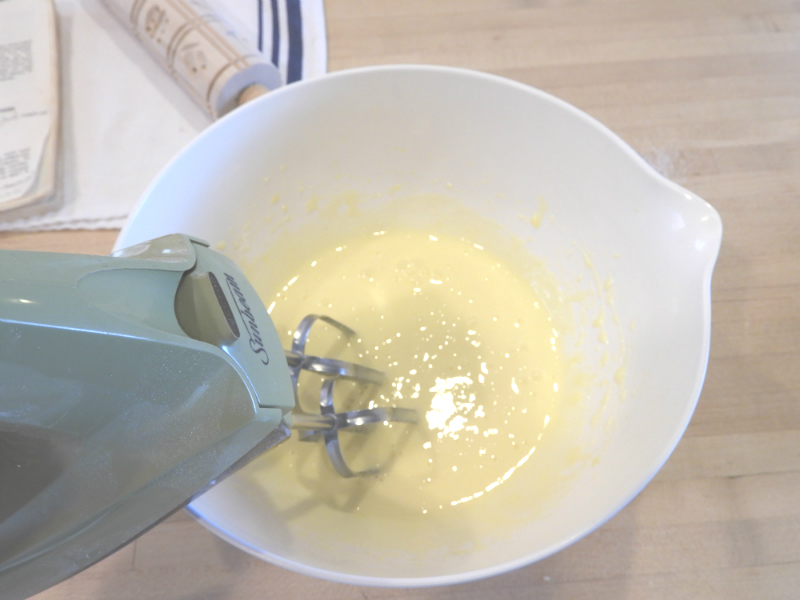
So I could beat until light and fluffy.
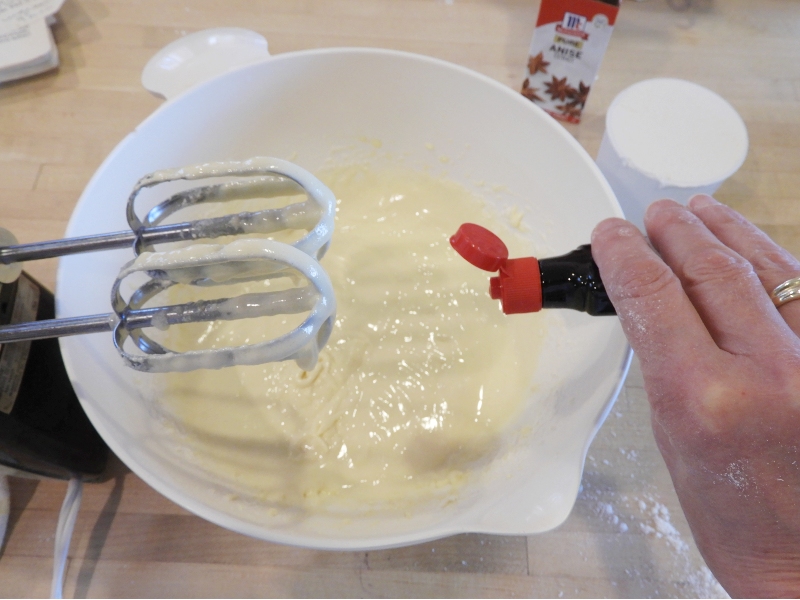
Next, I added the 4 to 5 drops of anise…
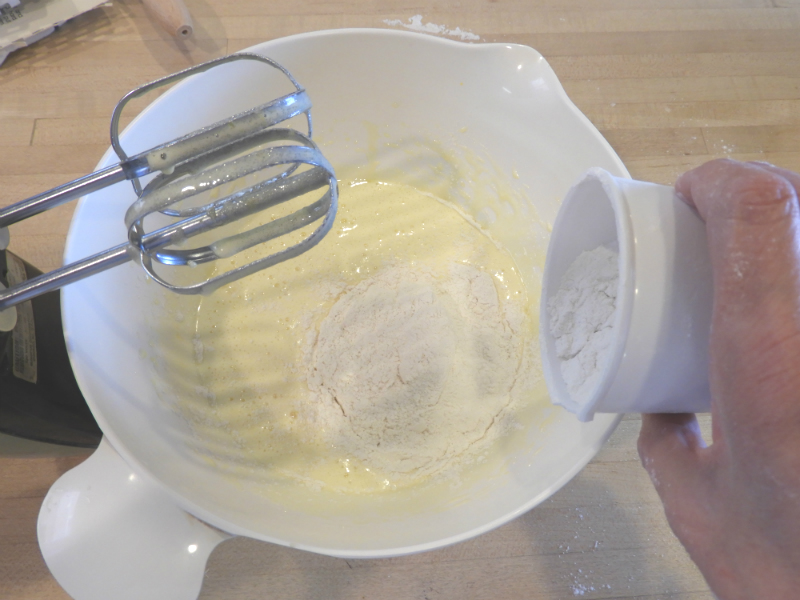
And finally the sifted dry ingredients.
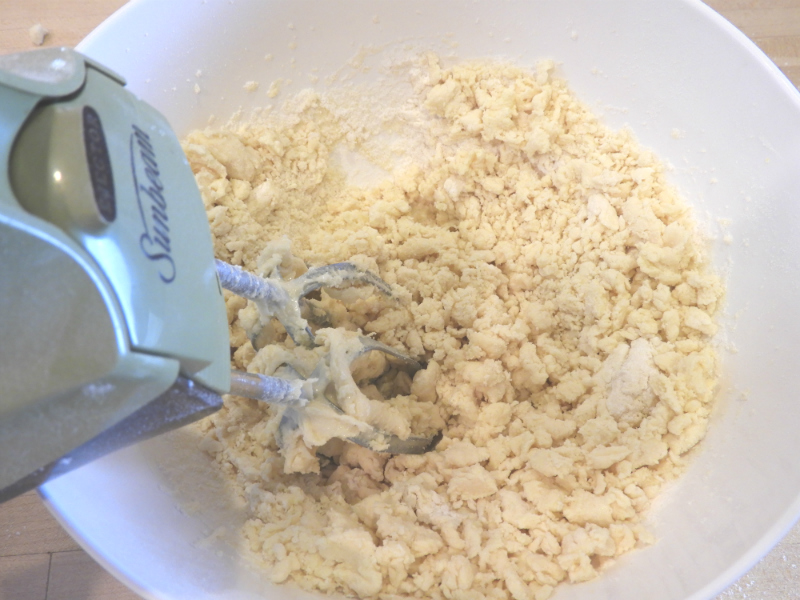
Here is where it got a bit tricky with my hand mixer. The dough began to come together, but it wasn’t coming together enough…
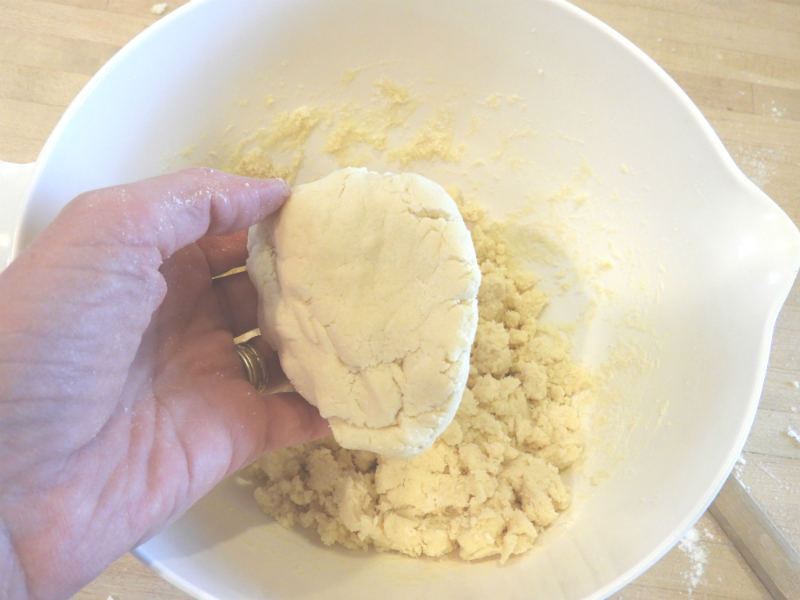
so, I decided to use my hands to finish mixing the dough and helping it form into a more workable consistency for rolling.
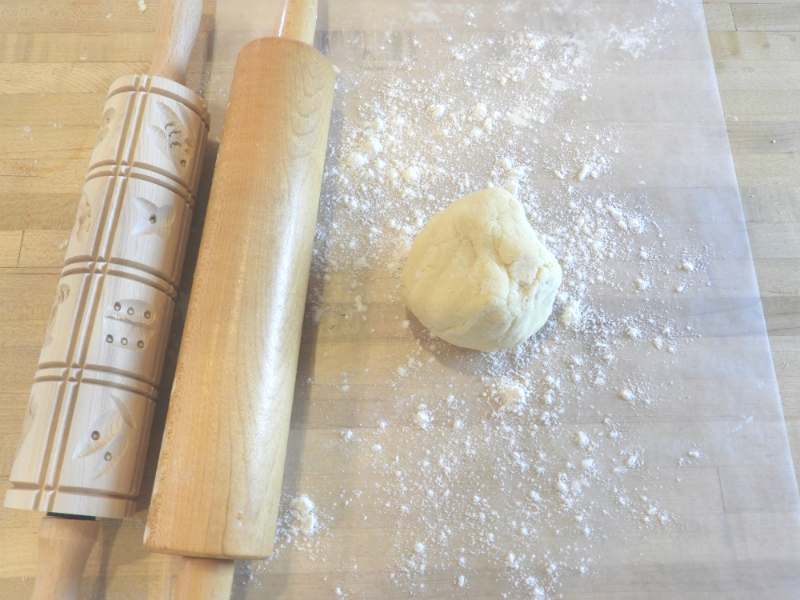
The recipe says to roll out the dough with a Springerle rolling pin. I decided to roll the dough out first with a normal rolling pin, then use the Springerle rolling pin to roll the motif.
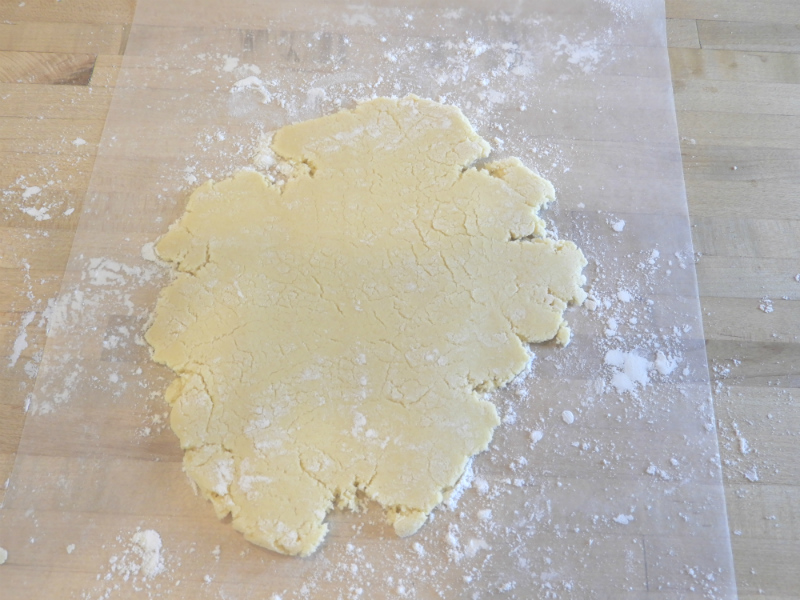
The dough was relatively easy to roll out…but it was very dry, so there were several cracks as it rolled out. I decided to use small amounts of dough at a time, this helped a bit but ended up taking longer as I wasn’t able to get that many cookies to roll out. Also, I didn’t roll the dough too thin as there needed to be enough dough for the Springerle rolling pin to emboss the motifs.
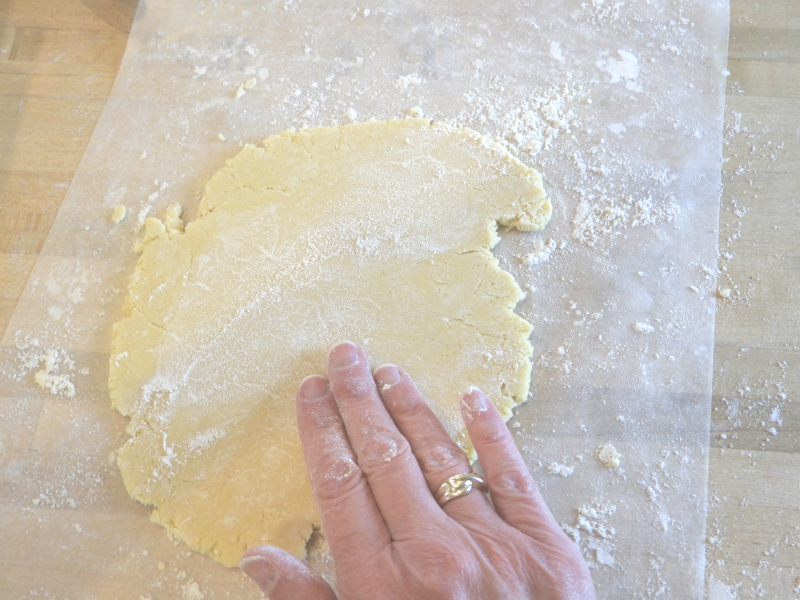
Once the dough was rolled out, I floured it to help ensure the Springerle rolling pin didn’t stick.
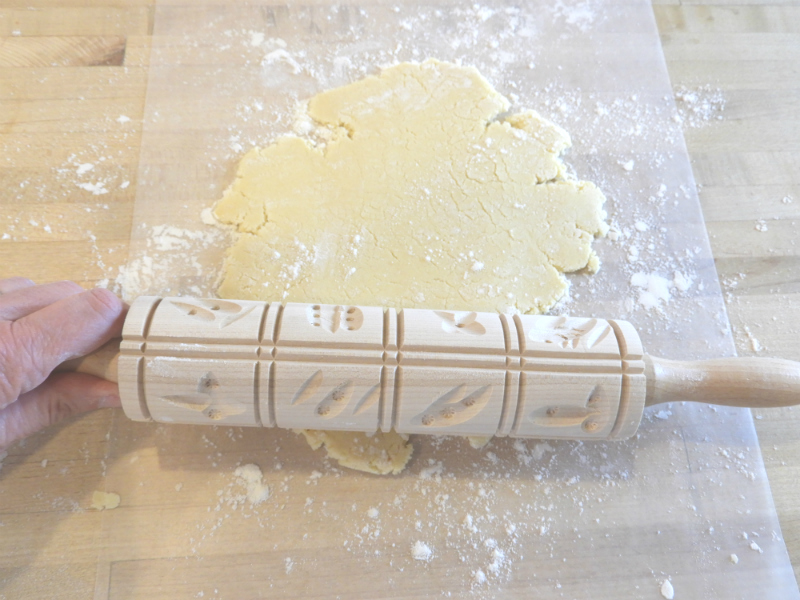
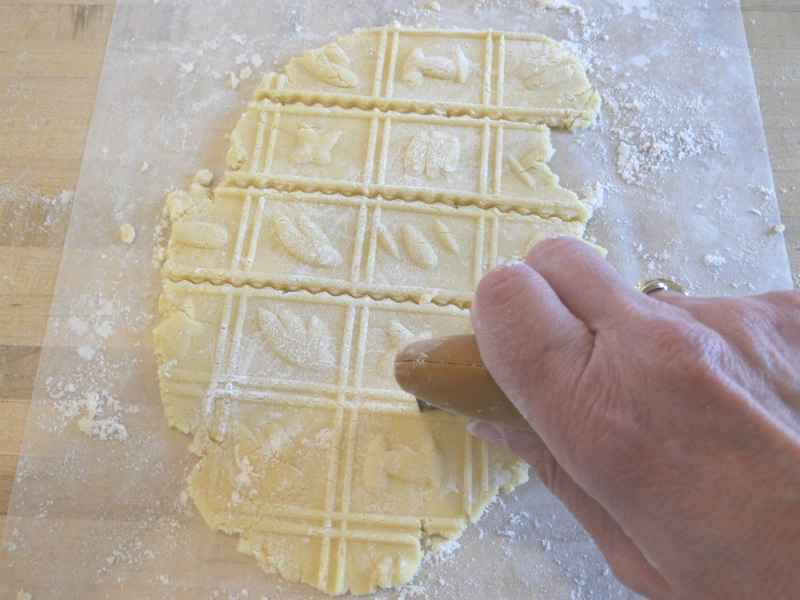
Then I began rolling the dough with my new Springerle rolling pin
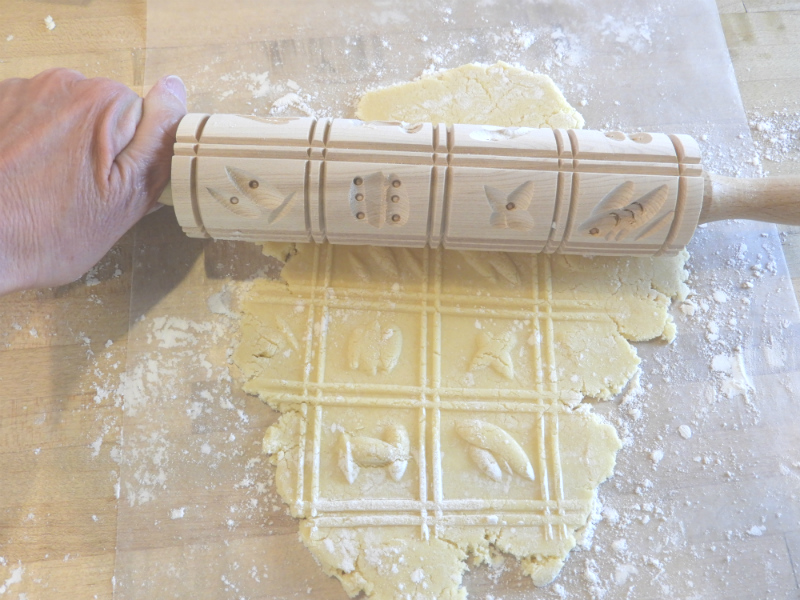
It was necessary to use some force to push the rolling pin down, ensuring the dough was embossing the Springerle motifs.
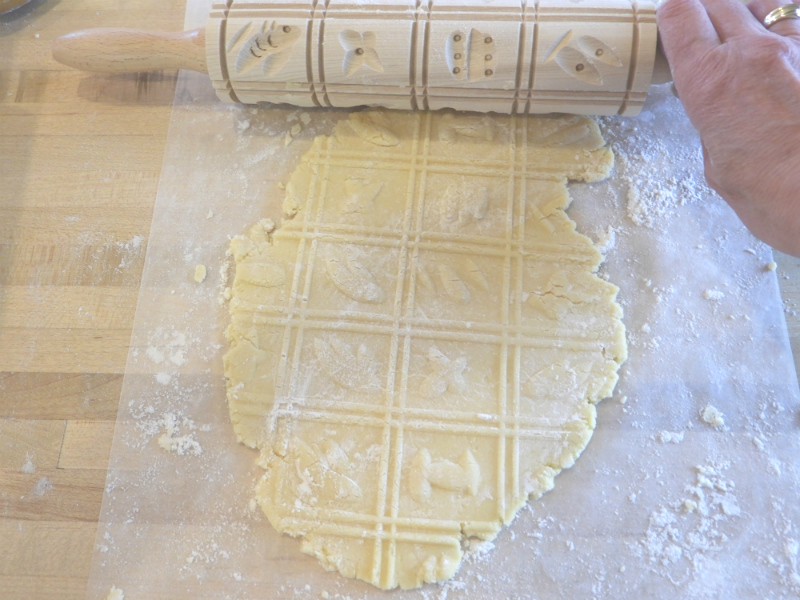
After I finished rolling…
I was very please to see how well the Springerle rolling pin did! The motifs rolled out nicely! Before beginning to cut the cookies, I placed a piece of wax paper over my wood cutting board to prevent the cookies from sticking to the board while they sit overnight to dry.
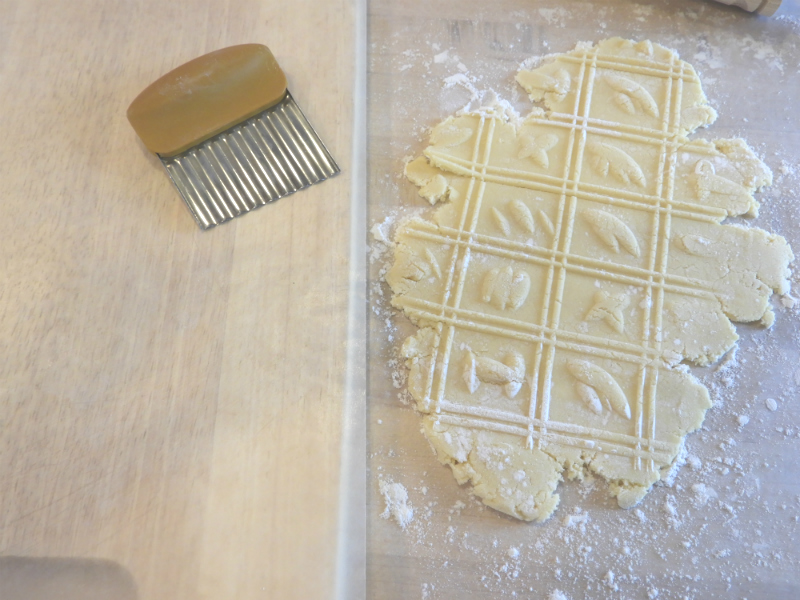
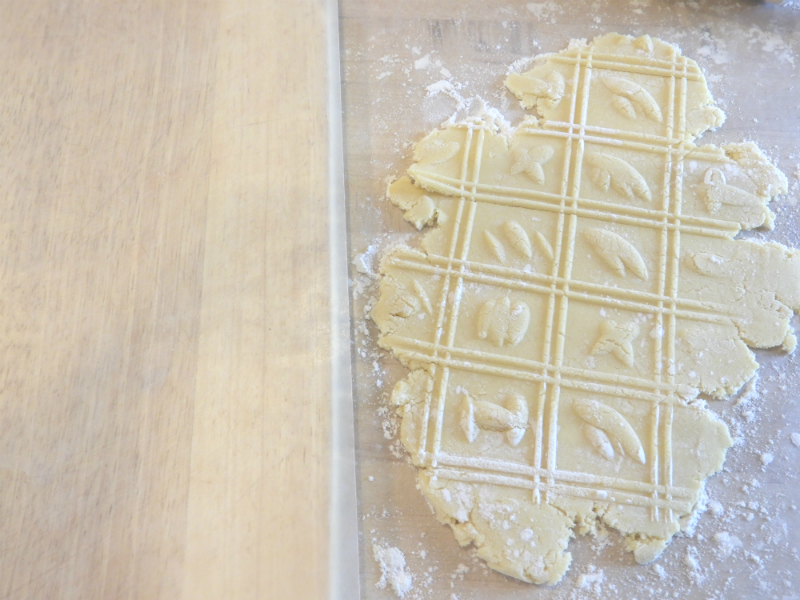
Now, I was ready to cut out the cookies into squared Many of the pictures of Springerle cookies I looked at showed scalloped edges, so I decided to use a small scalloped cutter.
I used the lines in the dough to cut the cookies with my scalloped cutter. What a nice and fancy touch!
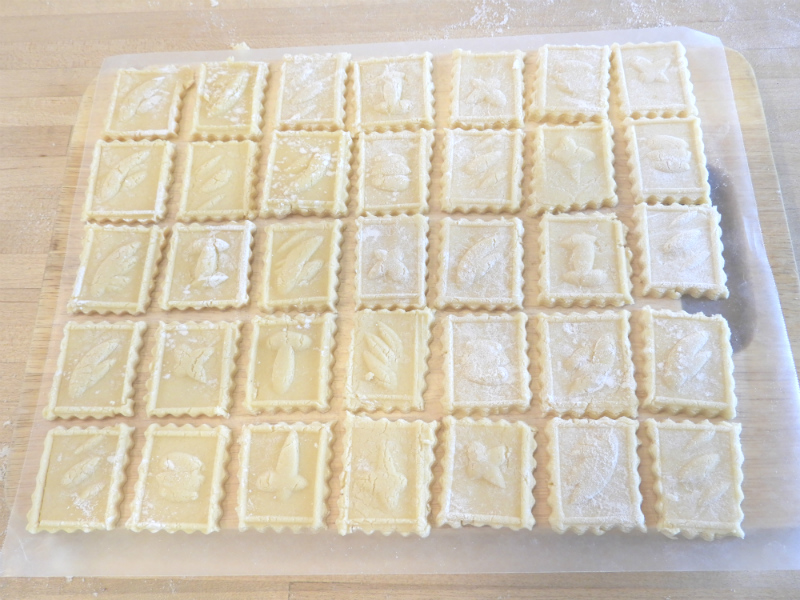
Once cut, I placed the cookies on wax paper on a wooden cutting board…now I was done and my cookies were ready to sit over night.
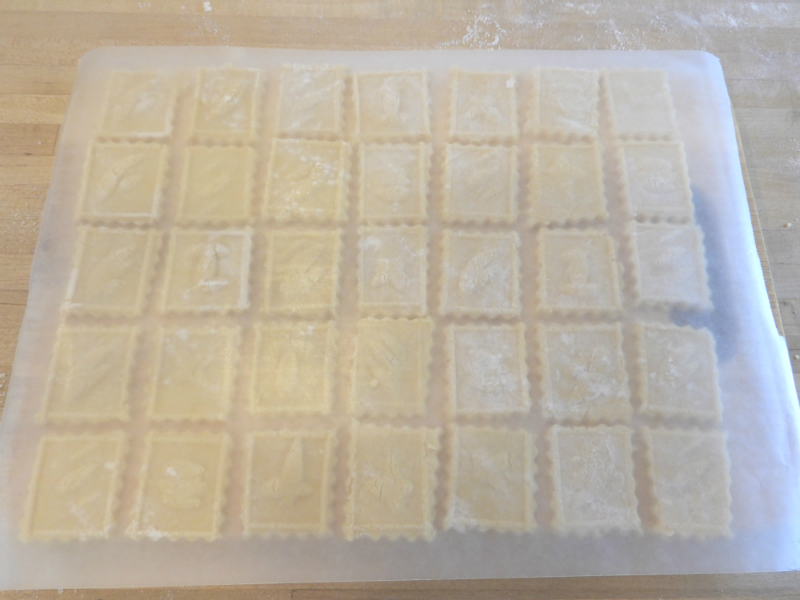
I placed another piece of wax paper over the cut cookies and moved them to a safe place to sit overnight.
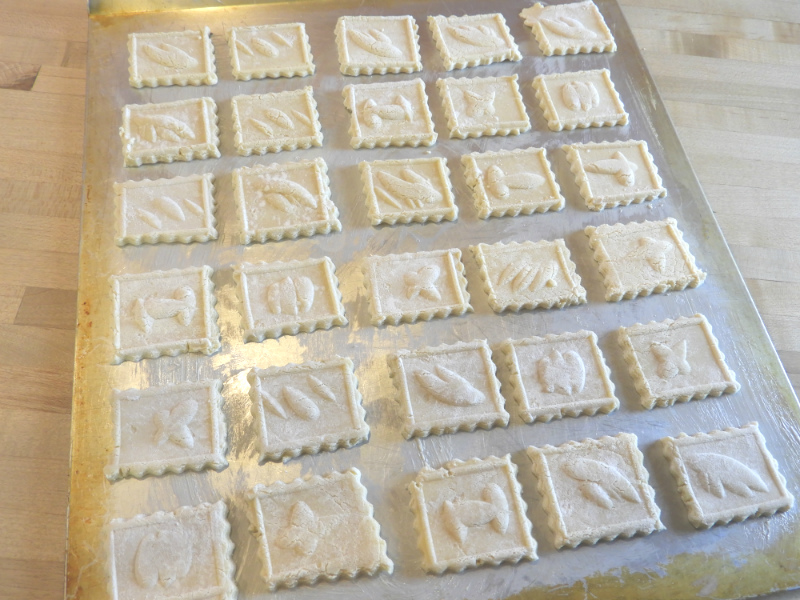
The next morning, I moved the cookies from my wooden cutting board to my well greased cookie sheet. The cookies were now ready to bake!
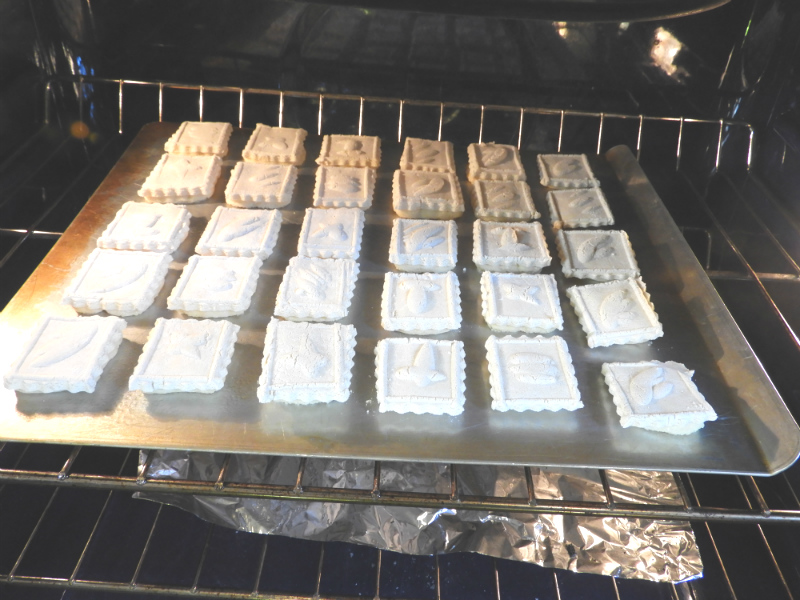
I baked the Springerle cookies for the full 15 minutes, watching them closely for the last 5 minutes to ensure they didn’t burn. While baking, I could see how the bottoms of the cookies rose up a bit. It was so interesting!
As you can see, the motifs kept their shape and volume while baking!
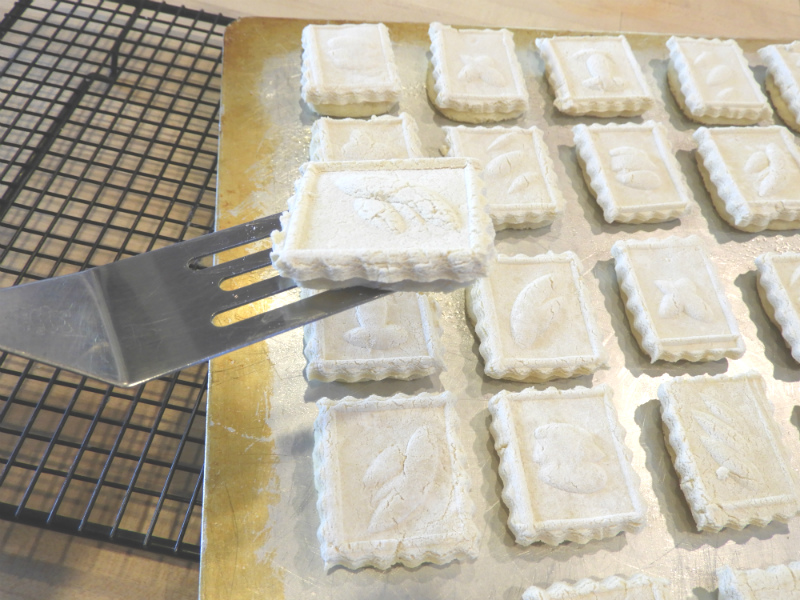
The cookies were easy to remove from the cookie sheet.
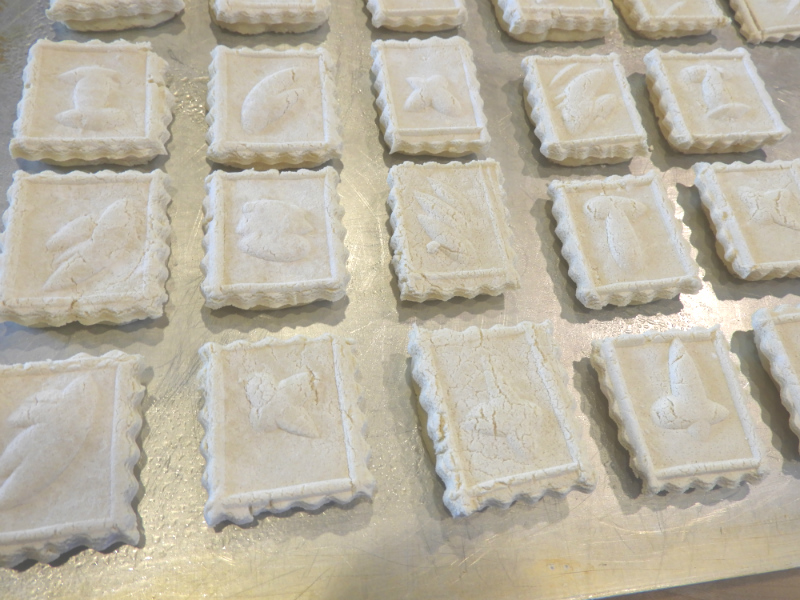
It seemed to me the cookies baked up perfectly! The tops of the cookies turned a nice almost white color.
While the bottom of the cookie stayed the beigey/yellowy color of the original dough.
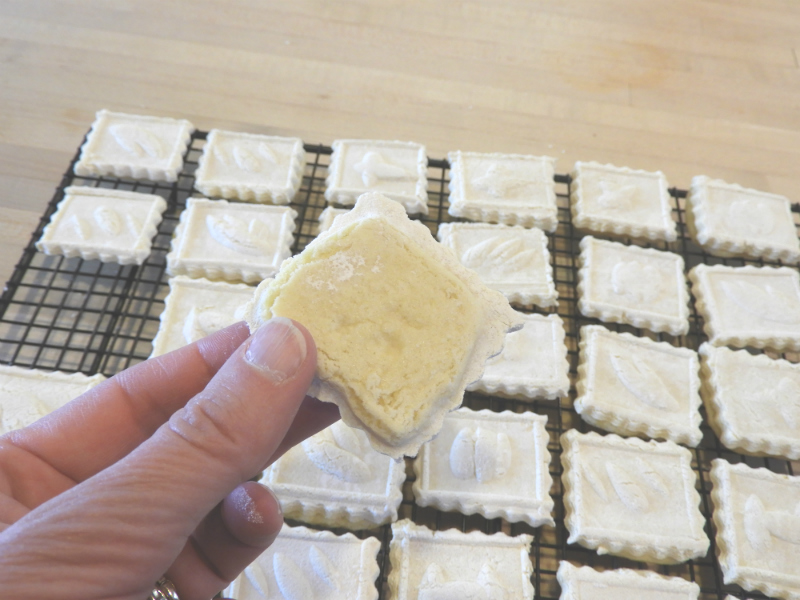
Okay, now I’m going to show a series of pictures to help demonstrate what these cookies look like and their texture after baking.
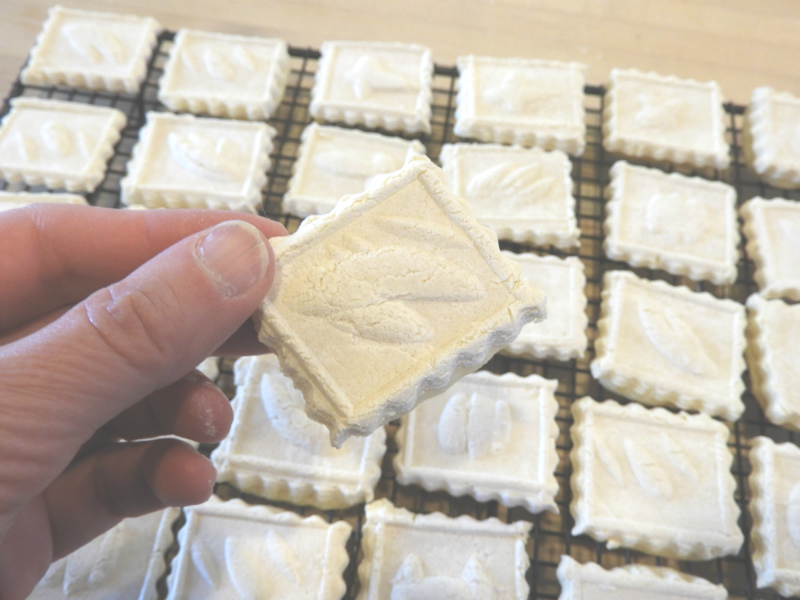
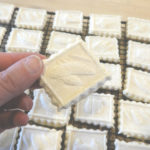
In this picture, you can see the volume of the cookie and the different textures of the top and bottom.
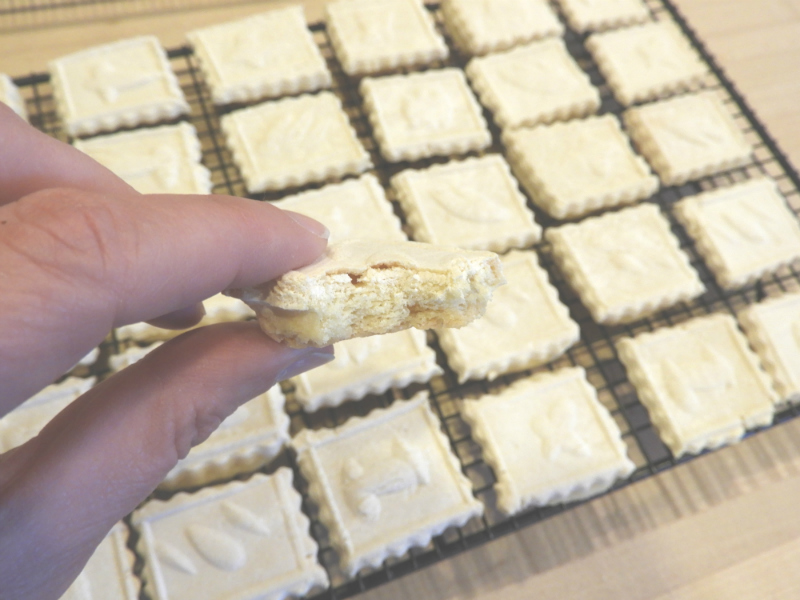
In this picture, you can see I just took a bite! The picture shows how crispy the top biscuit is and the difference between the top and bottom of the cookie.
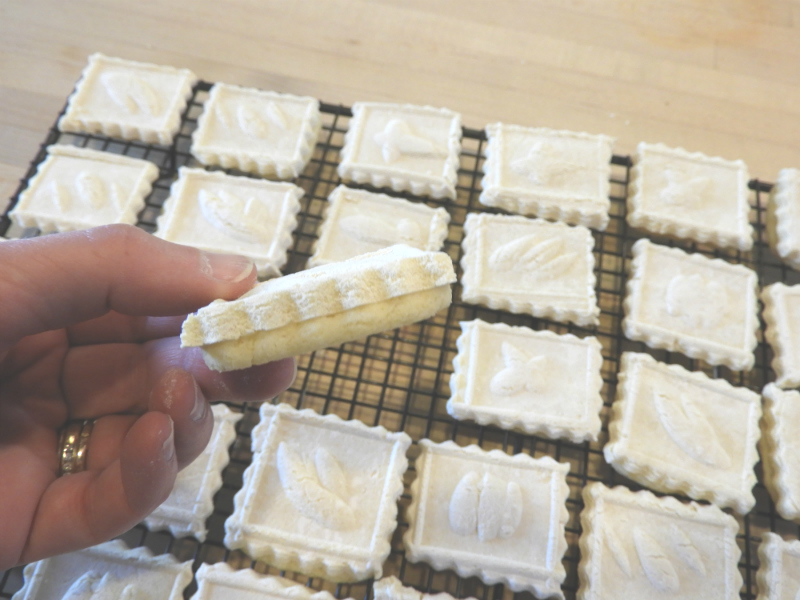
This picture again shows the volume of the cookie and the difference in the texture of the cookie top and cookie bottom.
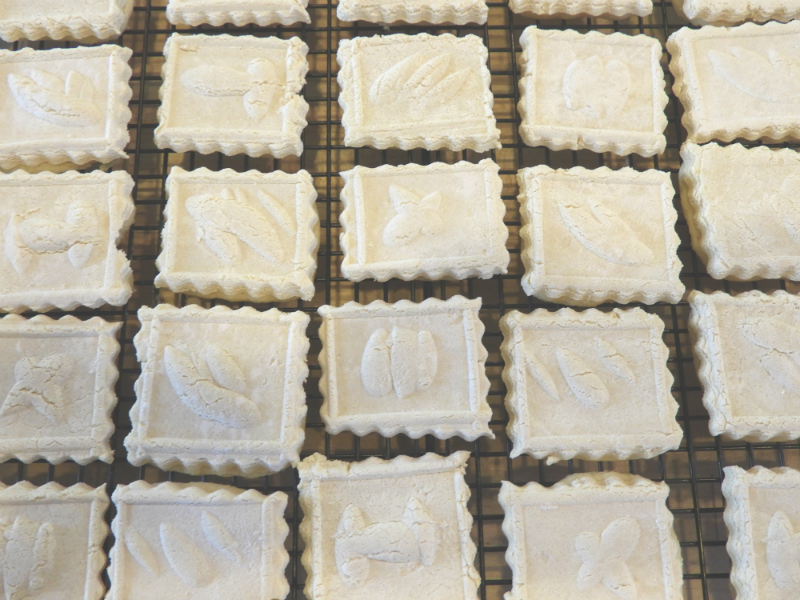
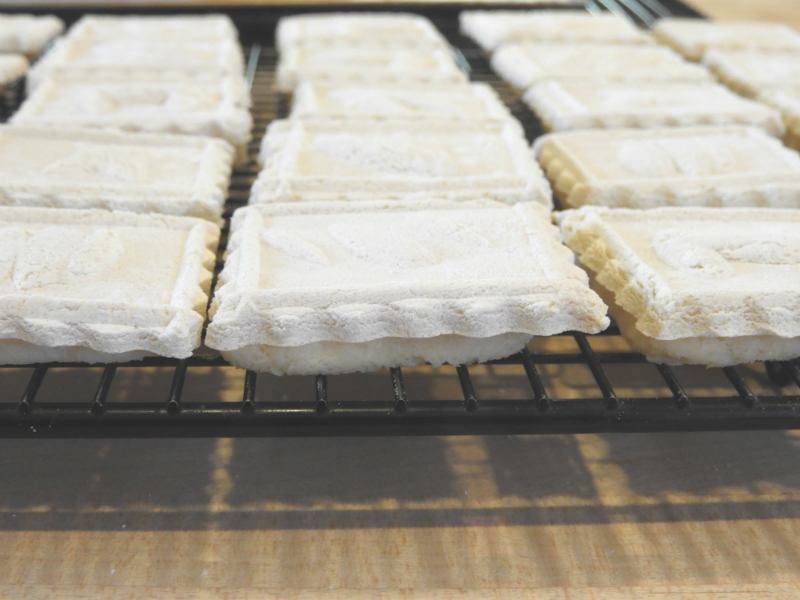
This picture shows the all the different motifs of the cookie tops. You can also see the dryness of the cookies as some of the motifs show cracks.
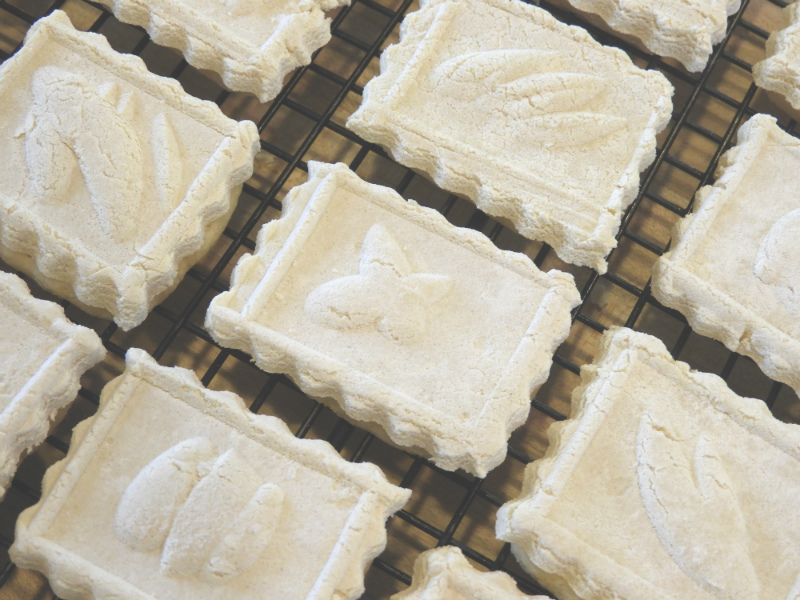
Finally, this picture shows the texture of the cookies…so pretty!
I can’t say enough about Springerle cookies…I am just in awe of the cookies themselves, the tradition of using the Springerle rolling pin, the beauty of the pre-baked cookies and the beauty of the post-baked cookies, both the crunchy and chewy textures of the baked cookies, and finally the unique anise flavors of the baked cookies!
What a wonderful learning experience I had making Springerle cookies! Not only learning about the history of these traditional German holiday cookies, but learning how to use the Springerle rolling pin, how to cut and shape the cookies, and the technique of letting the cookies sit over night to ensure the motifs are maintained while baking.
Finally, what a wonderful baking experience! I had no idea what a fun time I was going to have mixing the dough, rolling the dough not only once but twice! And how fun to watch the cookies bake, rise, and set perfectly.
I was proud of myself after rolling, cutting, and removing the cookies from the baking sheets. Grandma Bess, thank you thank you thank you for putting this easy to make Springerle cookie recipe into your cookie book!
I so hope you all will purchase a Springerle rolling pin and take the time to try this traditional holiday cookie. What a rewarding experience I had…one I won’t soon forget!
Oh, and I certainly don’t want to forget to mention, Springerle cookies taste great with their subtle but present anise flavors! I felt like I was eating a cookie from the 14th century “Middle Ages” in southwest Germany ?
I hope you enjoy the holidays and Sringerle cookies!
XXOO,
Janet
Springerle
Ingredients
2 cups sifted flour
1 tsp baking powder
¼ tsp salt
About 4 or 5 drops anise extract
2 eggs
1 cup sugar
Instructions
Beat eggs until light, add sugar and beat until light and fluffy. Add sifted dry ingredients with anise flavoring and mix well. Roll out with Springerle rolling pin on floured board. Sprinkle rolling pin with flour if necessary. Cut into squares and allow to dry on board overnight. Bake on well greased cookie sheet at 325 degrees for about 15 minutes. Store in covered container.
Recipe Yield
Makes about 4 - 5 dozen cookies 1x
Cookie Category: Rolled, Holiday
Cookie Difficulty Rating