Date Filled Pin Wheel Cookies

This week I decided to try another pin wheel cookie, Date Filled Pin Wheel Cookies. I’ve looked at this recipe several times but passed it over because I think I’m a little afraid of pin wheel cookies! I’ve tried to make them twice before (regular Pin Wheels and Peanut Butter Pin Wheels, shown below) and wasn’t really successful with either recipe. The cookies tasted great, but really didn’t look so good, as you can see below…no sharp edges or clean line between the cookie and the filling.
In my opinion, taste always wins out over looks, but in the cookie (food) blogging business, I’m learning it’s really all about the looks. I totally get it, no one can taste your cookies on Instagram, Pinterest or Facebook, so you have to make them look as delicious and appetizing as possible. Well, after this third try with the Date Filled Pin Wheel Cookies, I can say once again, they taste great with their brown sugary and date flavors, but I really need to keep trying and practicing on the looks ?
I rated this recipe as 3-stars. For me it was actually 4-stars because of all the challenges I have with pin wheel cookies…but I’ve seen some awesome looking pin wheel cookies, so for those you of that have mastered the technique, you will find this recipe similar to others you’ve made. In my opinion, all the steps and technique needed do warrant 3-stars for all pin wheel recipes.
Let me also mention that I think the instructions for this recipe could be detailed out a bit more. I listed them in the recipe below as written in the original recipe in Cookies by Bess, just to stay true to Bess and her recipes. When we republish Cookies by Bess in the future, I will for sure add some tips and tricks to help others that struggle with pin wheels have an easier go than I did 🙂
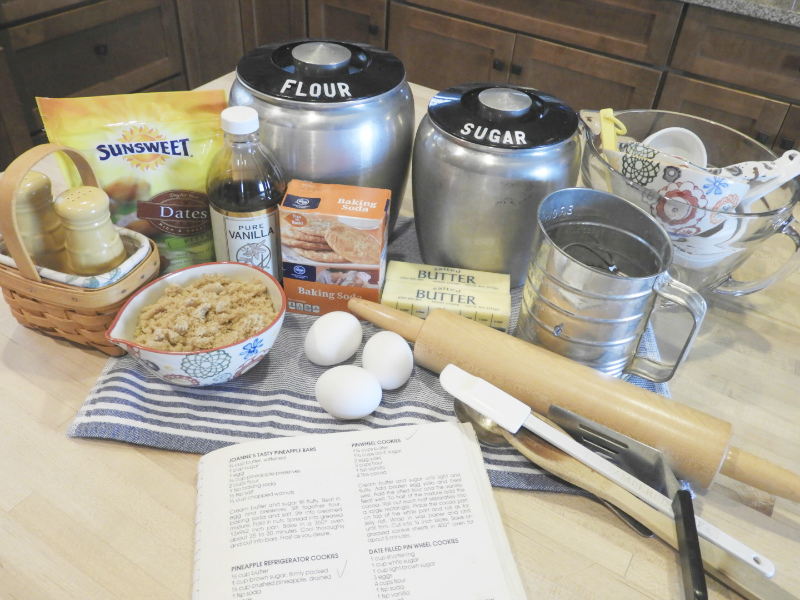
I got started as usual by pulling all my ingredients together. I really like getting organized, as much as possible, before I get started. It helps speed the baking process up! This time, I will admit that I did have to make a second trip to the grocery store…ugh! After reading the recipe at least 10 times, I finally noticed that I needed 1 POUND of dates, the bag I bought was only 8 ounces…so back to the store I went ☹
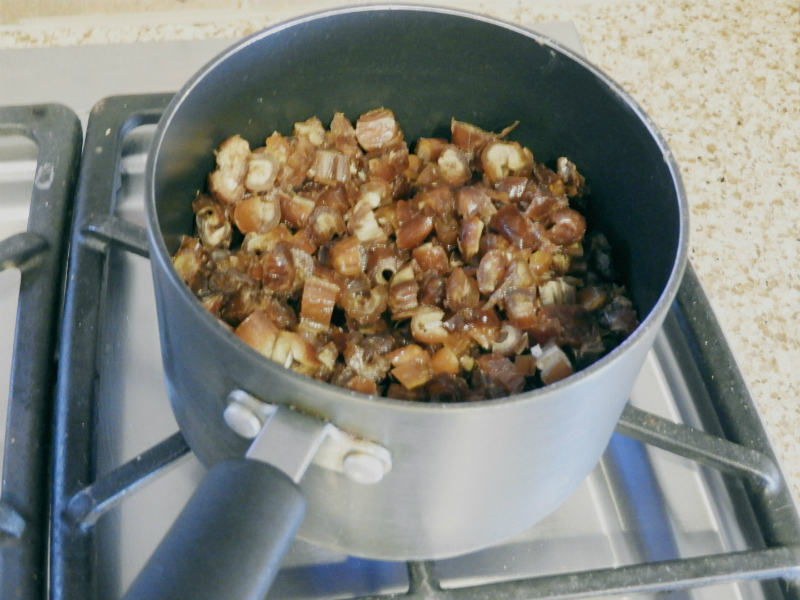
Before actually getting started with the recipe, I chopped the dates and got them started on the stove with the 1/2 cup of water. I bought whole dates versus already chopped dates because they seemed fresher. It only took about 15 minutes to chop them up. I think it was well worth the time and effort.
Now that I’ve made the cookies, I want to mention that it’s important to chop the dates into very small pieces. The size makes a difference in how the final cookies look. Mine were chopped, but not as finely as needed. This resulted in uneven pin wheels that looked like they had a “chunks” of dates here and there. Next time, I will chop the dates finely, so they simmer down into more of a smooth paste versus a chunky paste.
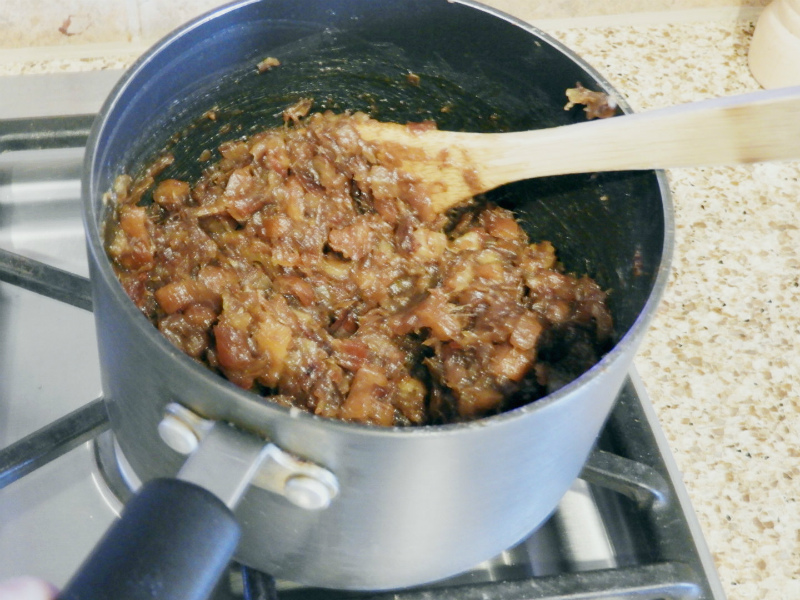
Also, I had to add more than ½ cup of water to thicken up the dates. Again, this is probably because the dates weren’t chopped fine enough.
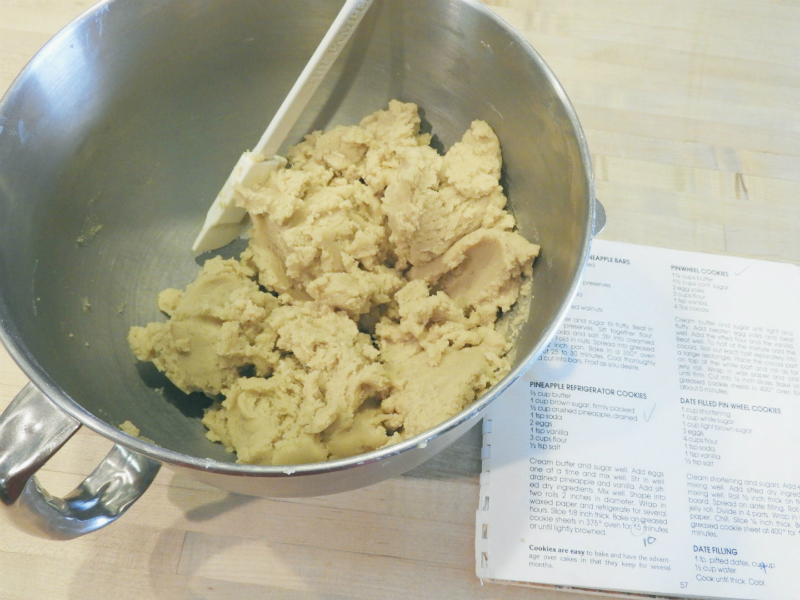
I finally got to mixing all the ingredients and blending together the cookie dough. The dough was a perfect consistency for rolling!
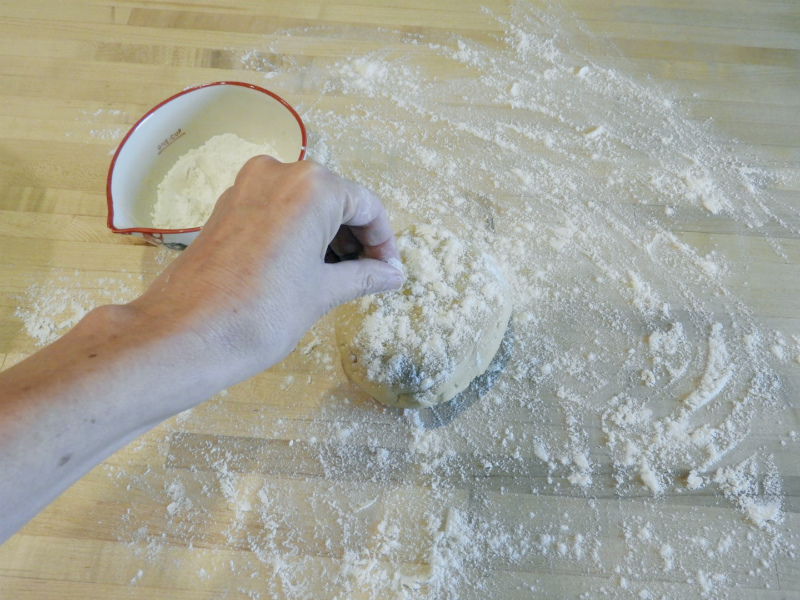
I didn’t have to use too much flour to the board and the dough and it didn’t stick to my hands or the rolling pin.
Here is where things got a little tricky. The recipe says to “Roll ½ inch thick on floured board. Spread on date filling. Roll as for jelly roll. Divide into 4 parts.” Okay, so this is one of those times I wish Grandma Bess was around because I had a lot of questions about these instructions.
First, was I supposed to roll out the all the dough at the same time? Second, ½ inch thick? This is where I’ve gotten in trouble with other pin wheel cookies, the rolls end up too thick, so the cookies end up too large. Next, how was I supposed to get the rolled dough into the correct shape for even rolling and shaping?
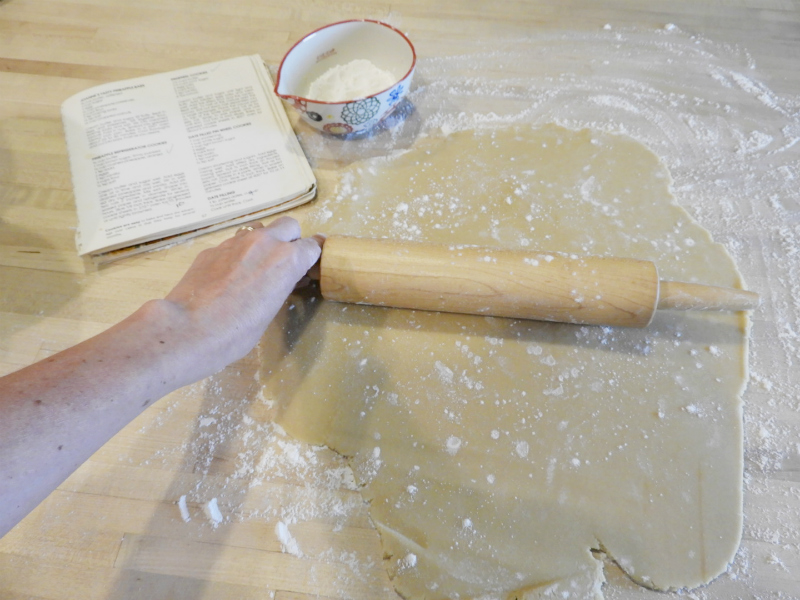
After all those questions (and a few more!), I decided to follow the instructions as written (for the most part), so I started with rolling all the dough out on the floured board.
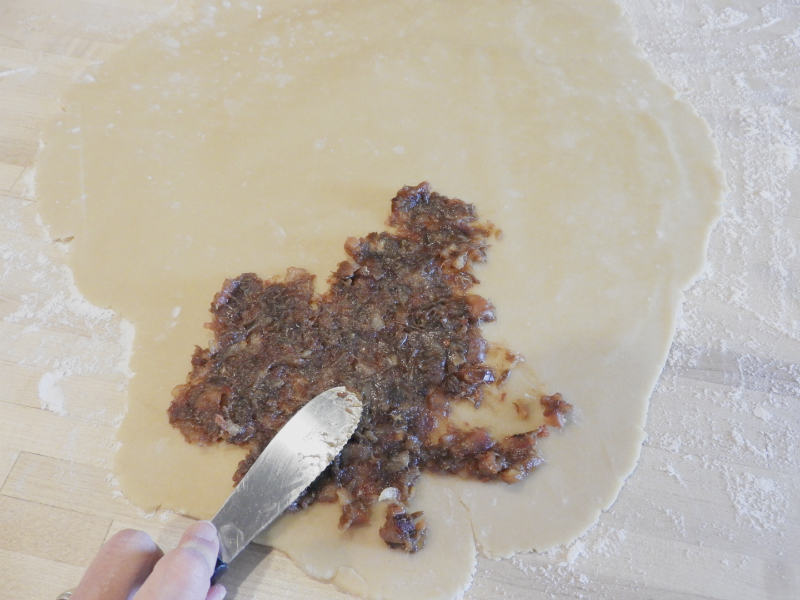
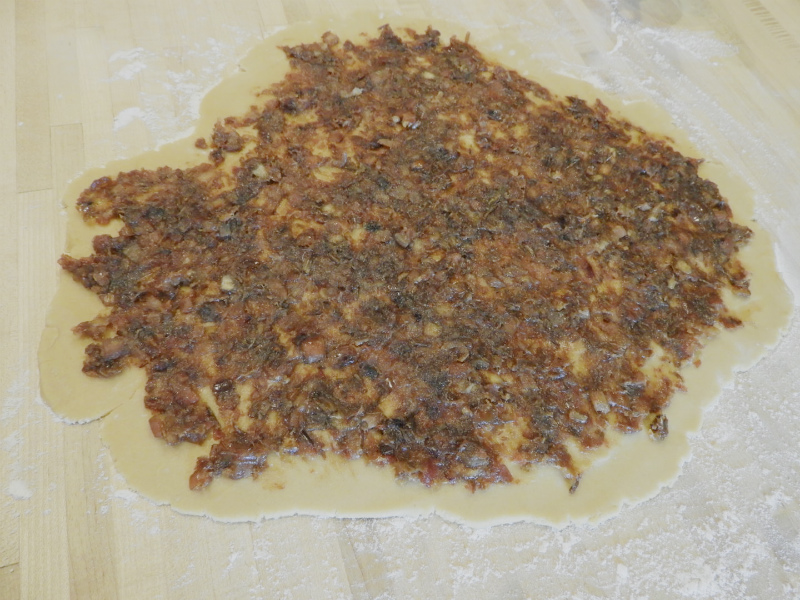
I rolled it about ¼ inch thick versus ½ inch thick to avoid my problems from the past and then spread the date filling over the entire rolled dough.
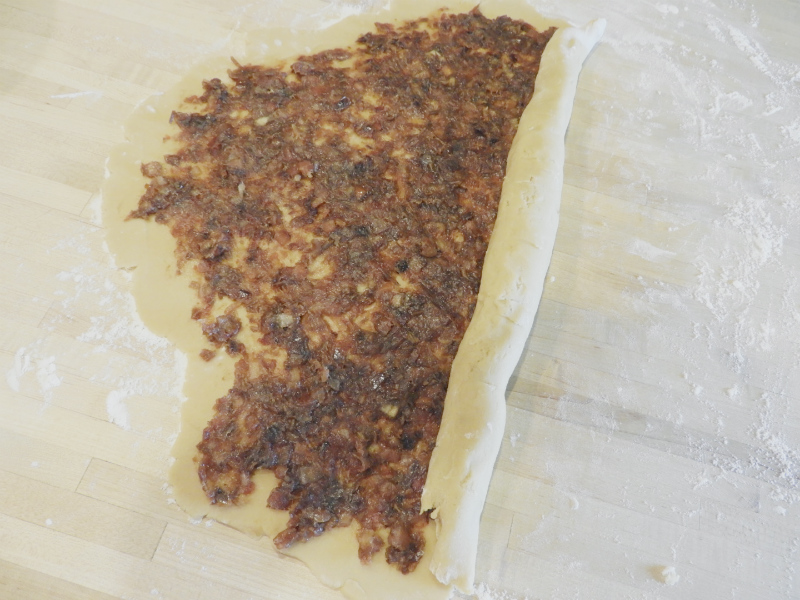
I rolled the dough up from both ends to ensure the cookies weren’t too thick. This seemed to work fine, but in the end I think these guys are still too big…oh well, now I know for next time!
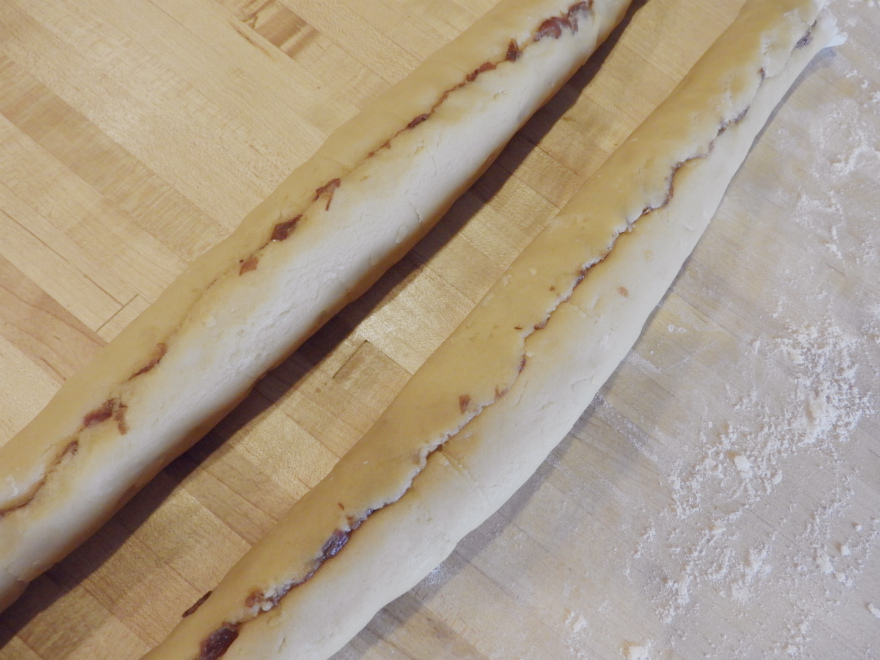
I ended up with two long rolls They were so long that I ended up cutting them into six parts so they were easier to manage later when I sliced the cookies.
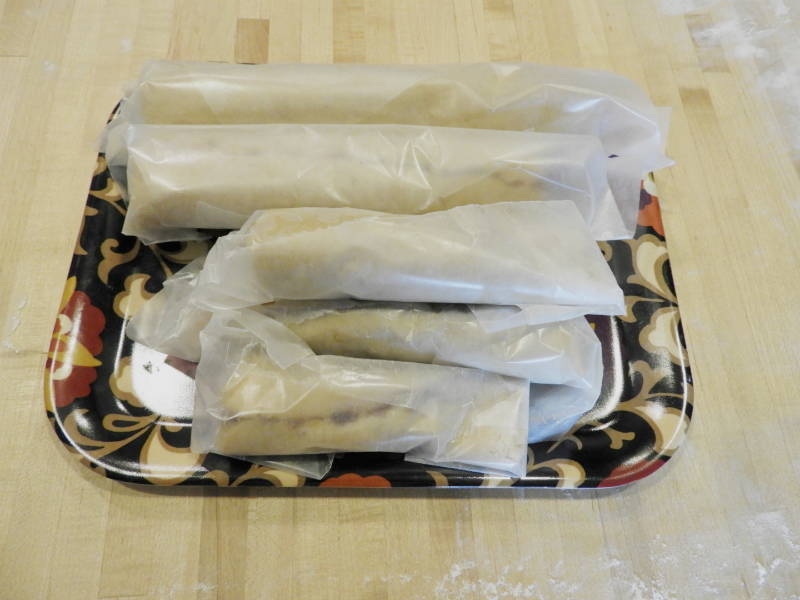
Next, I wrapped the rolls up in waxed paper and stuck them in the refrigerator for an hour or so.
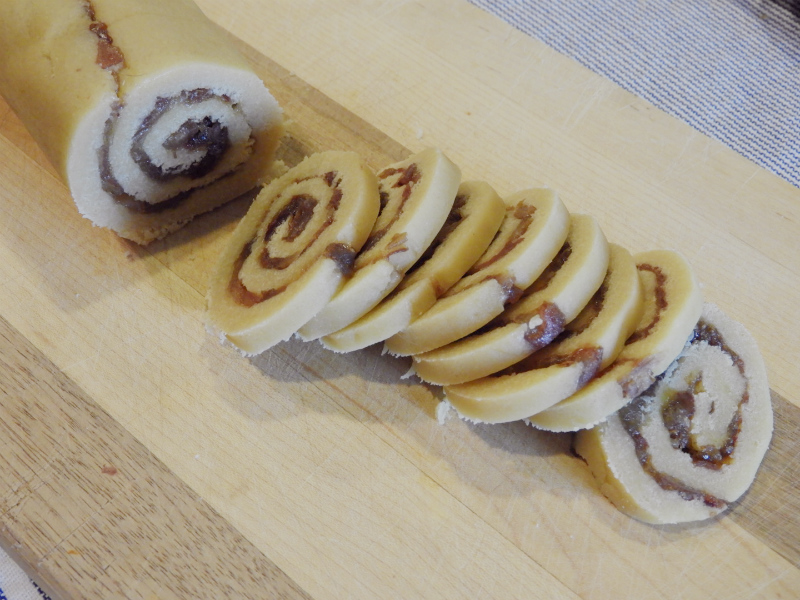
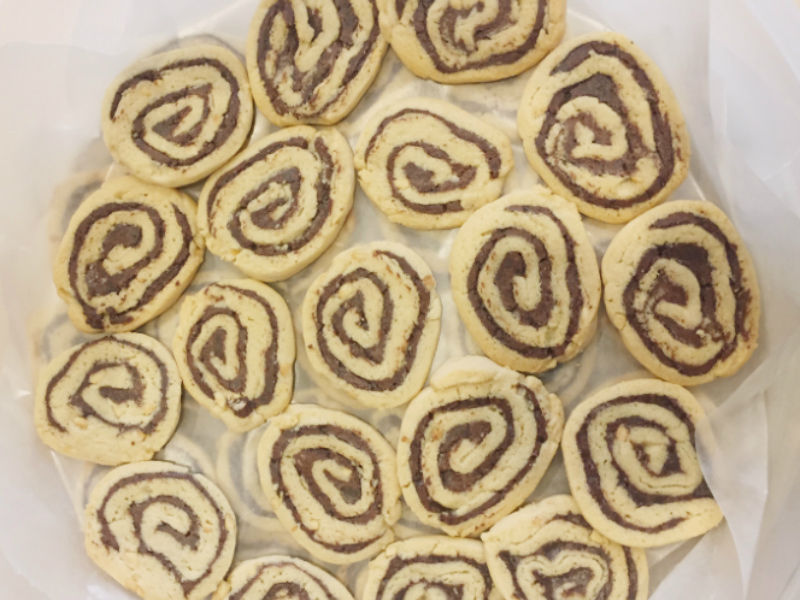
I was so pleasantly surprised when I took the rolls out of the refrigerator and began slicing the cookies. It was very easy to slice the dough and I thought the pin wheels looked pretty good! As I mentioned above, there were a few slices that had large chunks of dates, but they it didn’t seem to make a difference in the slices.

Now it was finally time to bake! I placed the cookies slices on a greased cookie sheet. I watched the cookies puff up a bit while baking, this resulted in blurring the pin wheels a bit. It seems that the dough took over the date filling, almost making them more of a swirl cookie versus a pin wheel cookie. This confirmed that I needed to roll the dough even thinner for the pin wheel effect to actually work.
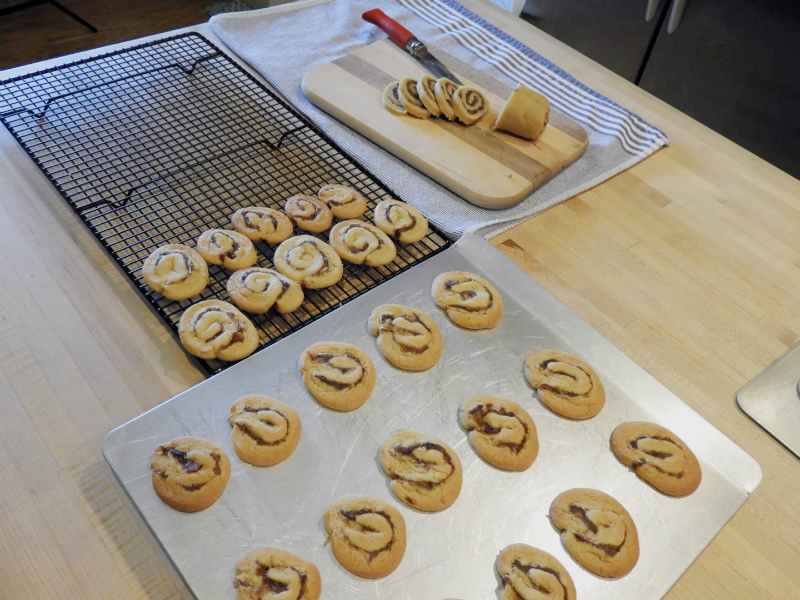
The cookies browned a little when I baked them for 10 minutes, so I ended up baking them for 8 – 9 minutes for the rest.

Once again, I can say that the finished cookies taste amazing, but maybe don’t look so great ? ☹ The cookies have a nice brown sugary flavor. The dates are not too pronounced but add to the chewy and soft texture. I love these cookies and couldn’t stop eating them when they were cooled.
I will keep trying to master the challenge of the Pin Wheel Cookies! Practice makes perfect, as they say, and in the meantime, I get to eat great tasting cookies along the way!
Date Filled Pin Wheel Cookies
Ingredients
1 cup shortening
1 cup white sugar
1 cup light brown sugar
3 eggs
4 cups flour
1 tsp baking soda
1 tsp vanilla
½ tsp salt
Instructions
Cream shortening and sugars. Add eggs and vanilla, mixing well. Add sifted dry ingredients, mixing well. Roll ½ inch thick on floured board. Spread date filling. Roll as for jelly roll. Divide into 4 parts. Wrap in waxed paper. Chill. Slice ¼ inch thick. Bake on greased cookie sheet at 400 degrees for 10 to 11 minutes.
Notes
Date Filling
1 lb. pitted dates, cut up
½ cup water
Cook until thick. Cool.
Recipe Yield
Makes about 6 - 7 dozen 1x
Cookie Category: Refrigerator
Cookie Difficulty Rating

how much water do you think you added to the original one half cup?
Hi Kathy, I gradually added about 1/4 cup more water…I did it a little at at time so I could judge the consistency.
You had me at “brown sugary flavor”
🙂
I have a very old recipe that I am making for my 93yr old patient that his wife used to make him. I found the recipe much to his happiness in her tattered pile of recipes that he saved after she died 40 long years ago.
I think the reason that you need to add more water is because the recipe calls for equal amount of sugar to water!
MAYBE your grandma is like me and just forgot that one important part!!
It is so awesome to make my patient smile ☺ happiness to you!!! ?
Hi Sharon, thank you for the tip and for visiting our website and blog! Cookies sure do put smiles on faces no matter how young or old! Here’s to you making your patient smile! Happy baking! 🙂