Party Face Cookies

I’ve been looking at this Party Face Cookies recipe for quite a while. I’m not exactly sure why I waited so long to make these awesome cookies…I had everything in my baking pantry and they are a drop cookie…what could be better?
Before I get into the baking steps, I want to first apologize in advance for the quality of the pictures you will see below. I tried my best to take bight pictures to accurately show the wonderful colors and textures of these Party Face Cookies, but alas, my pictures show my inexperience in not only taking pictures, but in adjusting or “Photoshoping”.
I know only enough to write and post these blogs…if I want truly professional photos, I’m going to have to hire someone. So again, please forgive me for the photo quality of this blog post and most importantly, please don’t let my pictures dissuade you from making Party Face Cookies. They not only really do look awesome; they taste even better!
Party Face Cookies are a fun cookie to make and eat! The recipe is relatively easy to mix together…making faces out of the raisins is the fun part and something kids of all ages will enjoy doing.
I do have to admit, my faces were pretty scrunched together. The raisins seemed to be much to big for the drop cookie. I guess I could have made larger cookies, but I wanted to follow Grandma Bess’ instructions, so I stuck with a teaspoon full for dropping the cookies.
It was awesome to see what happened to the cookie faces while they baked! Keep reading to see for yourself!
I’m rating Party Face Cookies 2-stars for cookie difficulty. Staying true to Cookies by Bess tradition, Party Face Cookies are not hard to make, but they do take a bit more time than other drop cookies due to the Party Face making ?
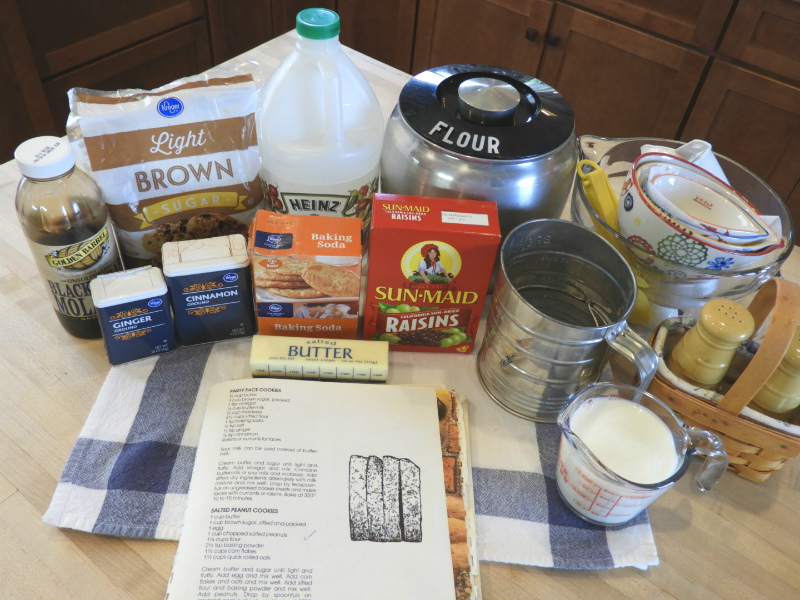
After I pulled all my ingredients together…
I got started making the buttermilk. To make buttermilk or sour milk, you need 1 cup milk and 1 tablespoon lemon juice. Mix the two together with a whisk and let it sit for 5 – 10 minutes or until you start to see the milk curdle a bit.
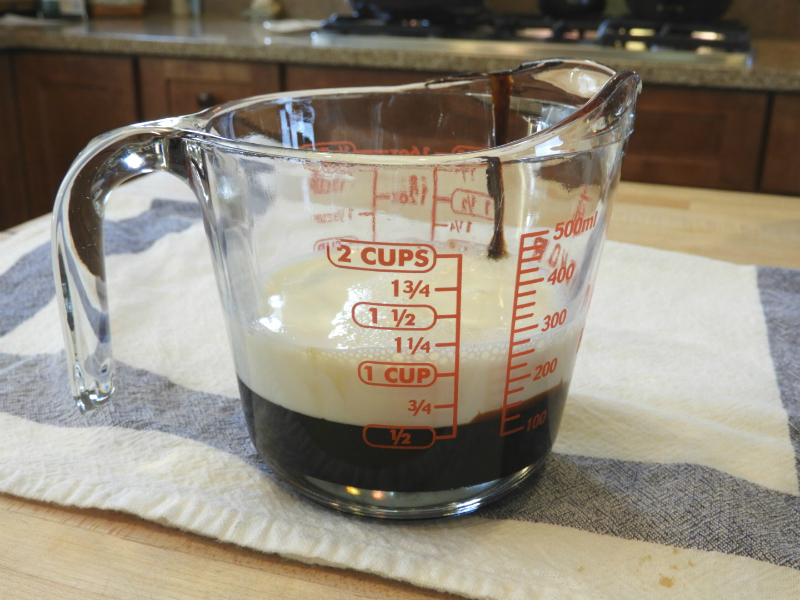
Once my milk was ready, I poured it into the ½ cup molasses. I thought it was awesome how the two ingredients stayed separated.
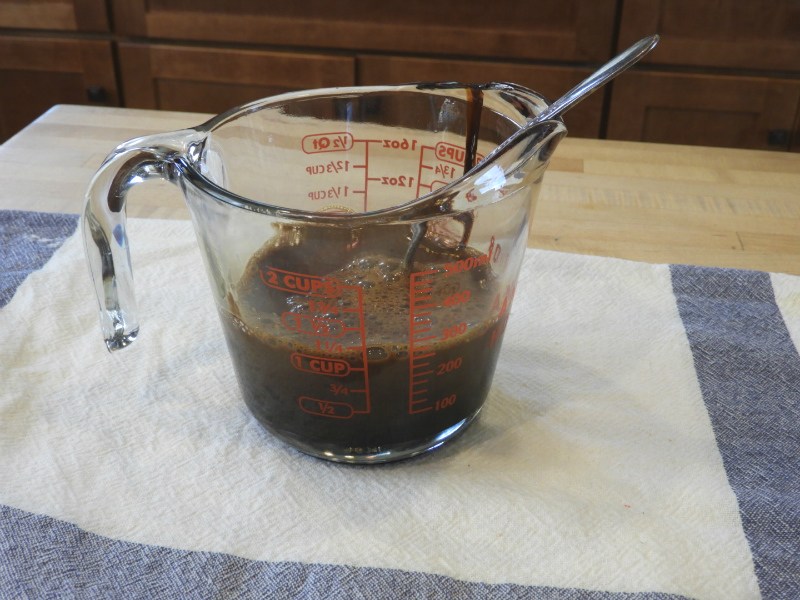
I used the whisk again to mix the molasses and buttermilk together. What an awesome almost chocolatey color!
Now I was ready to mix the ingredients together. Easy and quick to do…just remember to alternate the dry and wet ingredients.
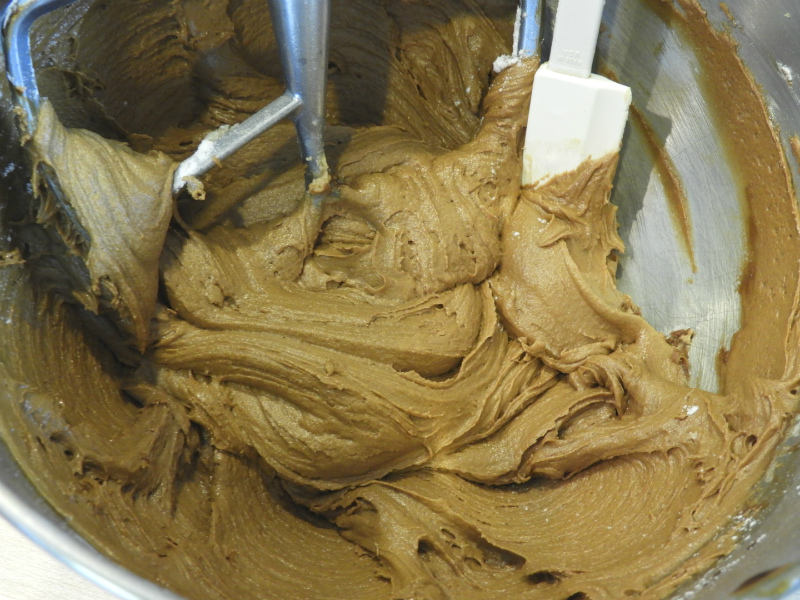
Check out this awesome looking dough. Not sure if you can tell, but this dough almost looks like it is puffing up. It is so smooth and creamy looking…I couldn’t resist tasting it. ? Sooo good!
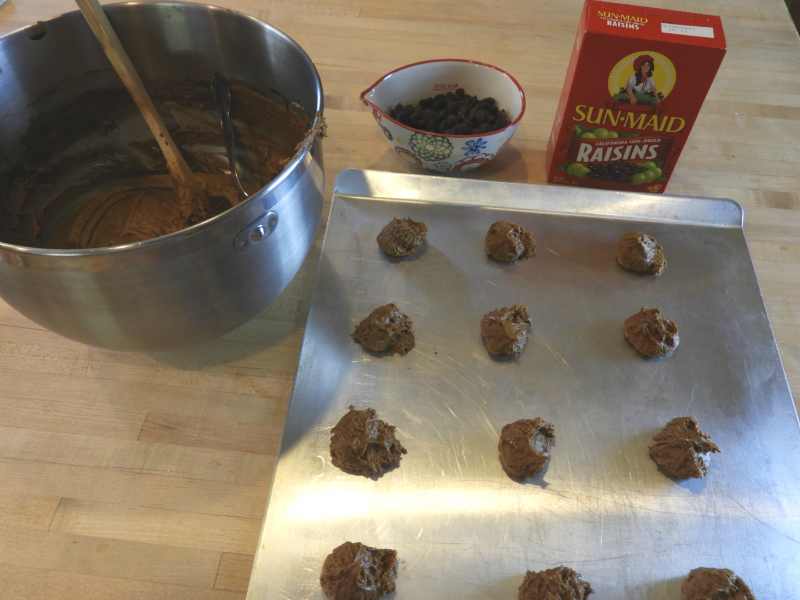
The dough seemed to keep puffing up a bit. It was so light almost airy. Once I got all the cookie dough dropped on my cookie sheet, I started making my Party Faces…
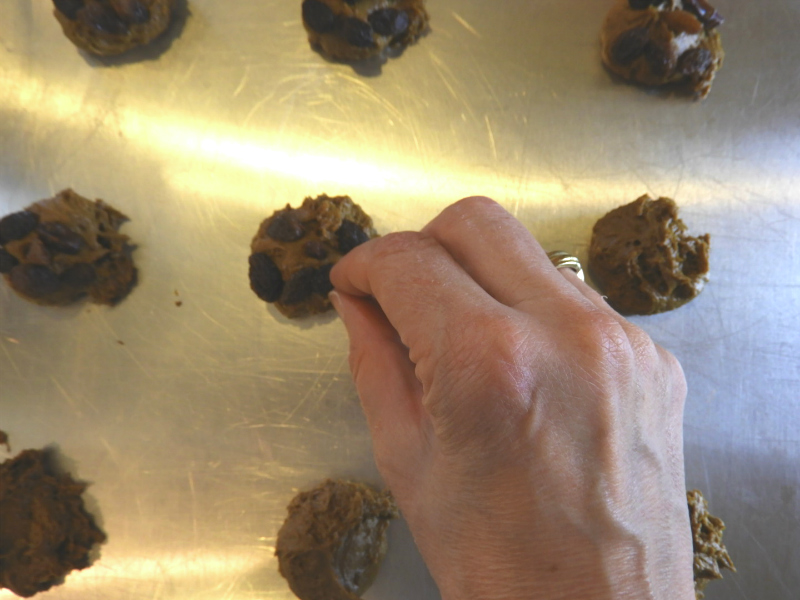
I know it’s hard to see this picture, but hopefully you can just make out how scrunched together I needed to make my Party Face. It seemed like the raisins were bigger than the cookie! I ended up with 6 raisins on each cookie…2 for eyes, 1 for a nose, and 3 for the mouth. I was so curious to see how these cookies baked and what my Party Faces were going to look like!
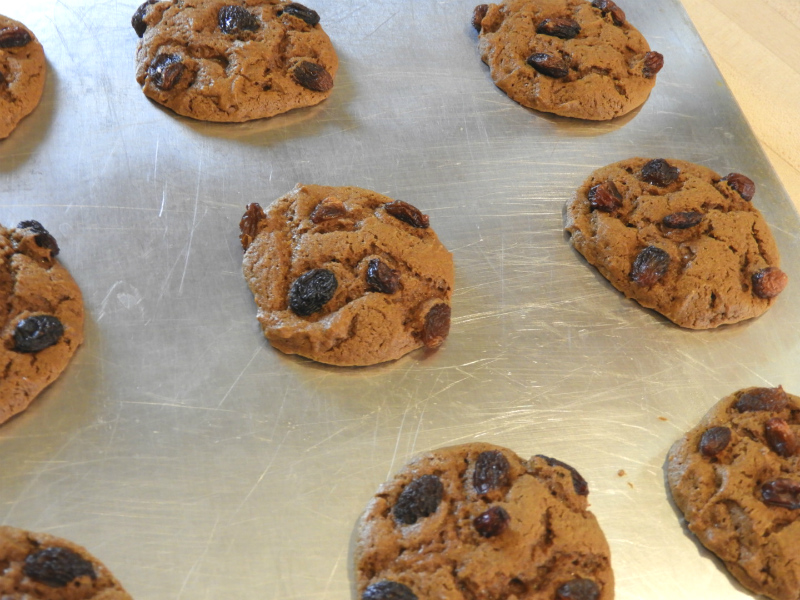
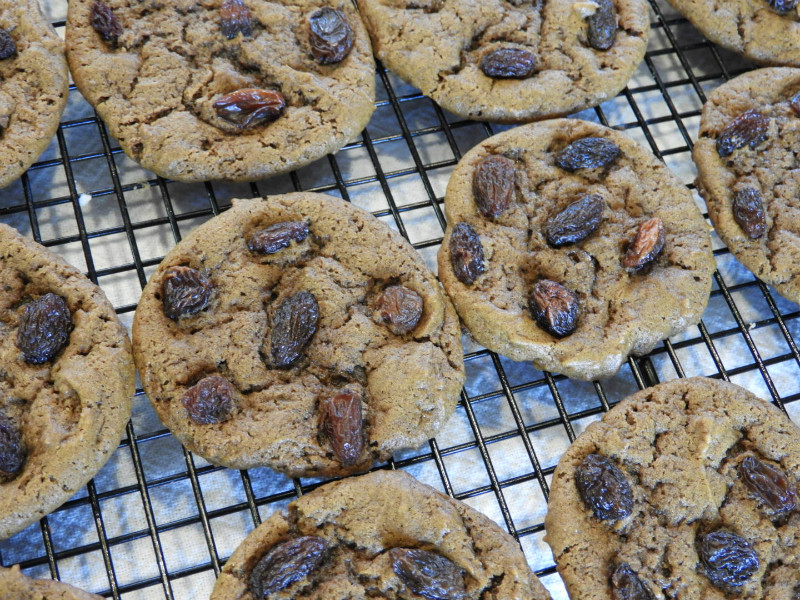
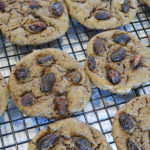
I baked the cookies for about 10 – 11 minutes. (Hint, next time I’ll bake them a minute or 2 longer.) When I took the cookies out of the oven, I noticed a couple of things. First, not only did the cookie dough puff up, but the actual cookies puffed up while they baked!
And second, how funny! Not only did the cookies spread out while baking, but the raisins spread out over the top of the cookies! You can barely even see the remnants of my Party Faces. The Party Face can be seen on a couple of cookies, but most are just an awesome round cookie with raisins on top.
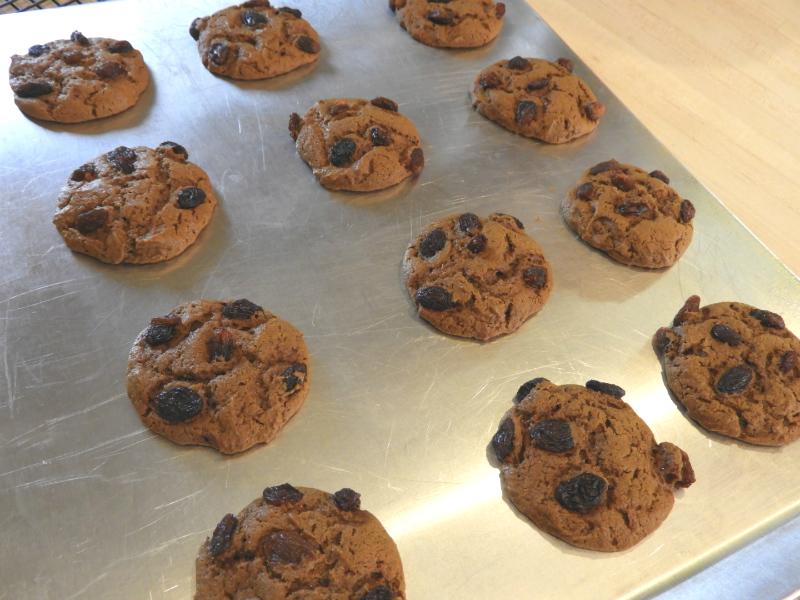
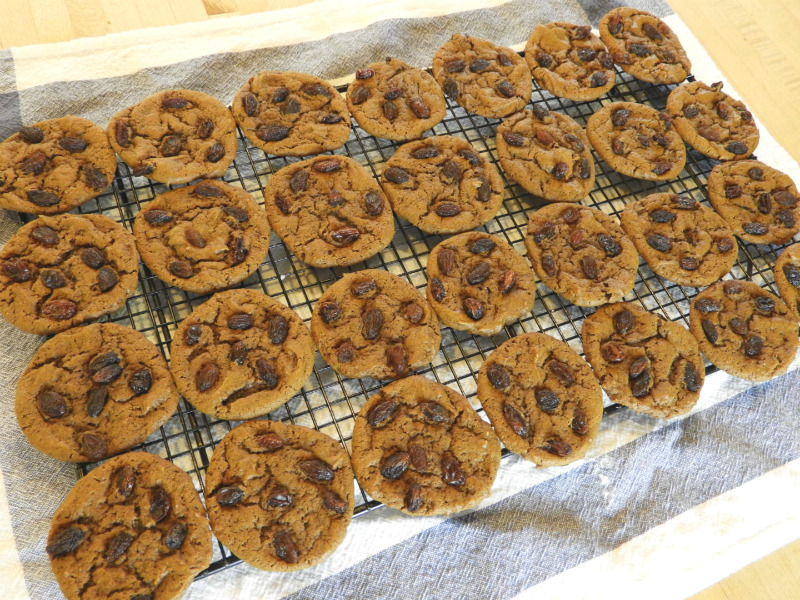
A quick note, I found it easiest to let the cookies cool on the cookie sheets for several minutes before removing them to the cooling rack.
I was so tickled when I was the end result cookies. What an awesome and fun cookie!
I hope the kids making the Party Faces won’t be disappointed by not really getting a Party Face on their cookies!
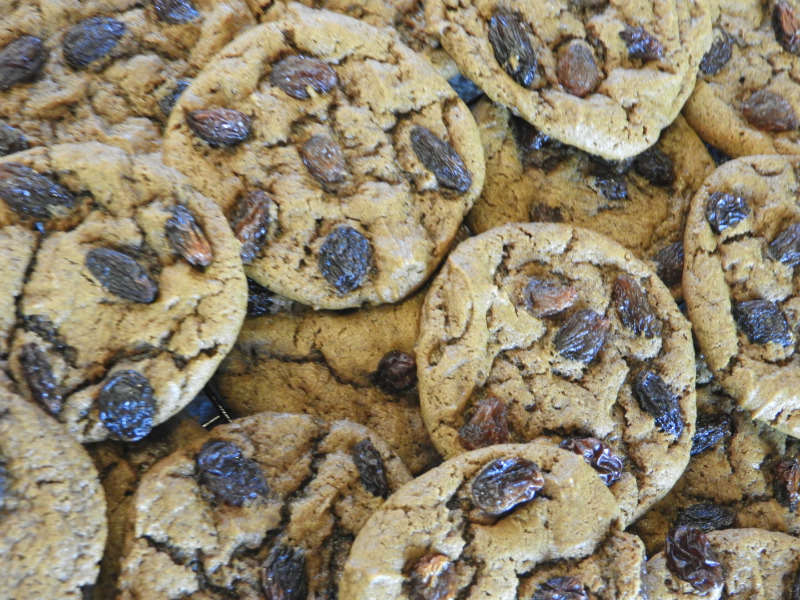
I’m sure they will forget all about the Party Face once they taste their cookies! What a wonderful flavor! I just love the spicy flavors of molasses, ginger and cinnamon…and the raisins on top are literally the raisin on top! ?
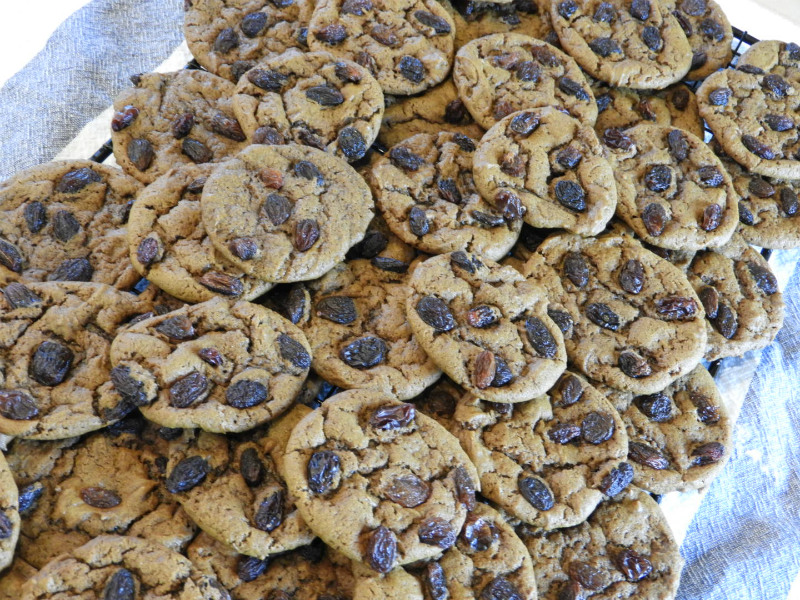
Party Face Cookies are just simply an AWESOME cookie recipe. They are fun and easy to make and OMG they taste GREAT!
As you can see, I can hardly say enough about Party Face Cookies! I hope you try them…I know you and everyone you know will love them!
XXOO,
Janet
Party Face Cookies
Ingredients
½ cup butter
1 cup brown sugar, packed
1 tsp vinegar
½ cup buttermilk
½ cup molasses
2 ½ cups sifted flour
1 tsp baking soda
½ tsp salt
½ tsp ginger
½ tsp cinnamon
Raisins or currants for faces
Sour milk can be used instead of butter milk.
Instructions
Cream butter and sugar until light and fluffy. Add vinegar and mix. Combine buttermilk or sour milk and molasses. Add sifted dry ingredients alternately with milk mixture and mix well. Drop by teaspoonfuls on ungreased cookie sheets and make faces with currants or raisins. Bake at 350 degrees 10 to 15 minutes.
Recipe Yield
Makes about 5 - 6 dozen 1x
Cookie Category: Drop
Cookie Difficulty Rating